Why Cheap Crawl Space Encapsulation Costs Twice as Much in the Long Run
The True Cost of Cutting Corners on Crawl Space Work
A professional inspector reveals what happens when homeowners choose price over quality
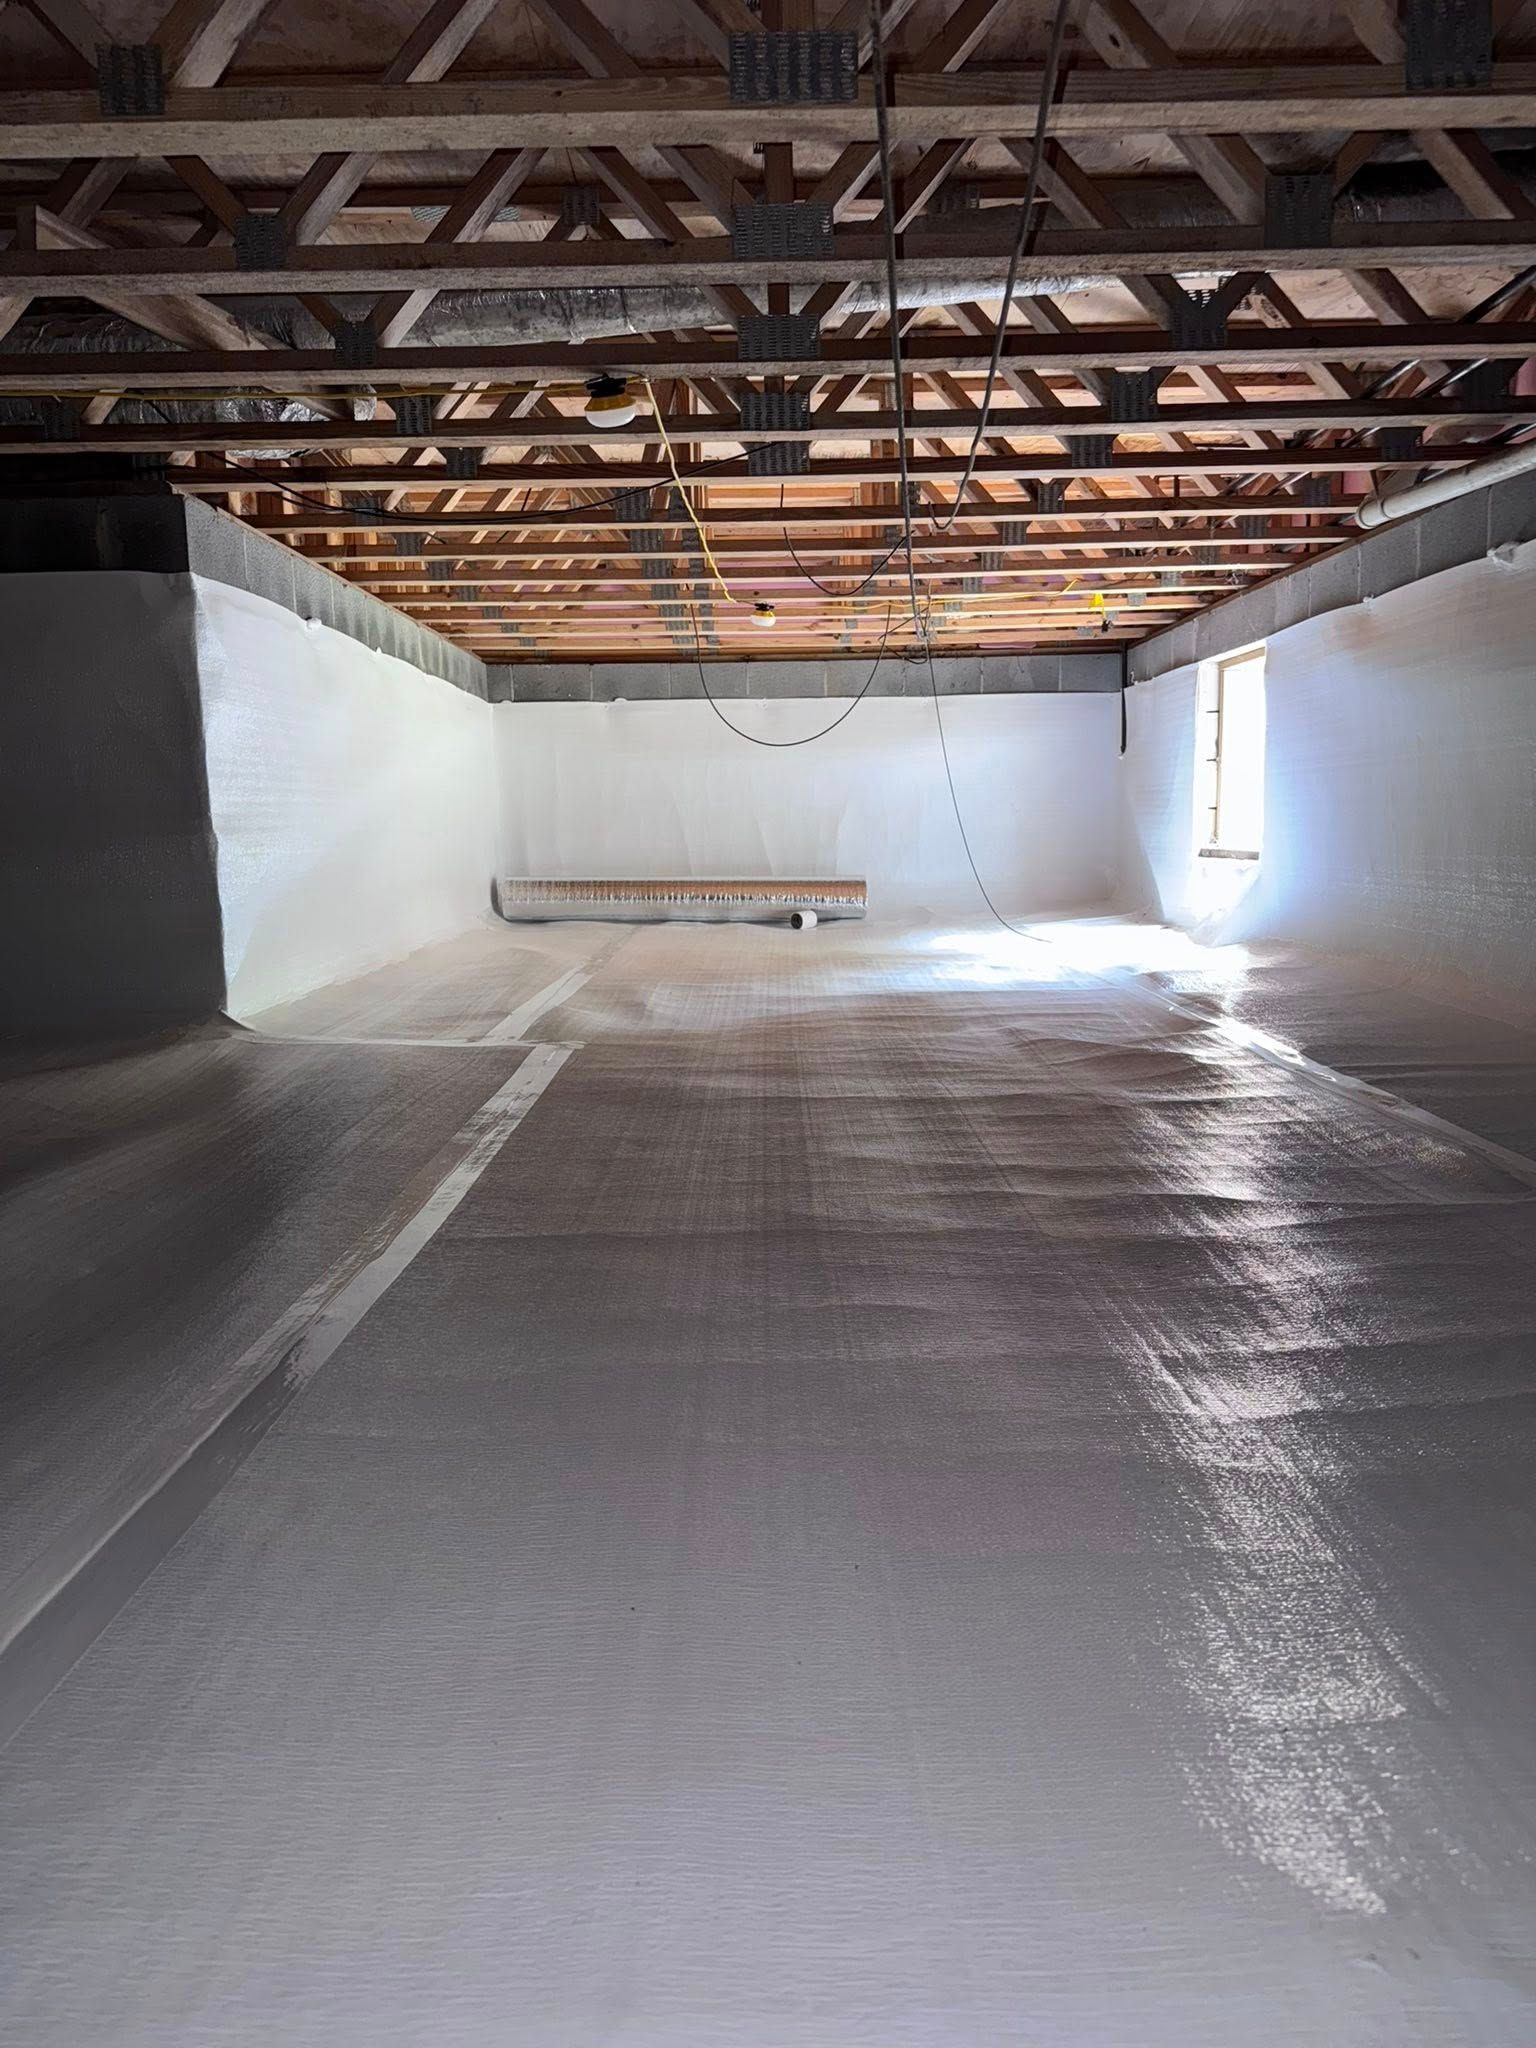
I just inspected a crawl space that perfectly shows why choosing the lowest bid often costs more in the long run.
The homeowners went with a company that promised the same results for less money.
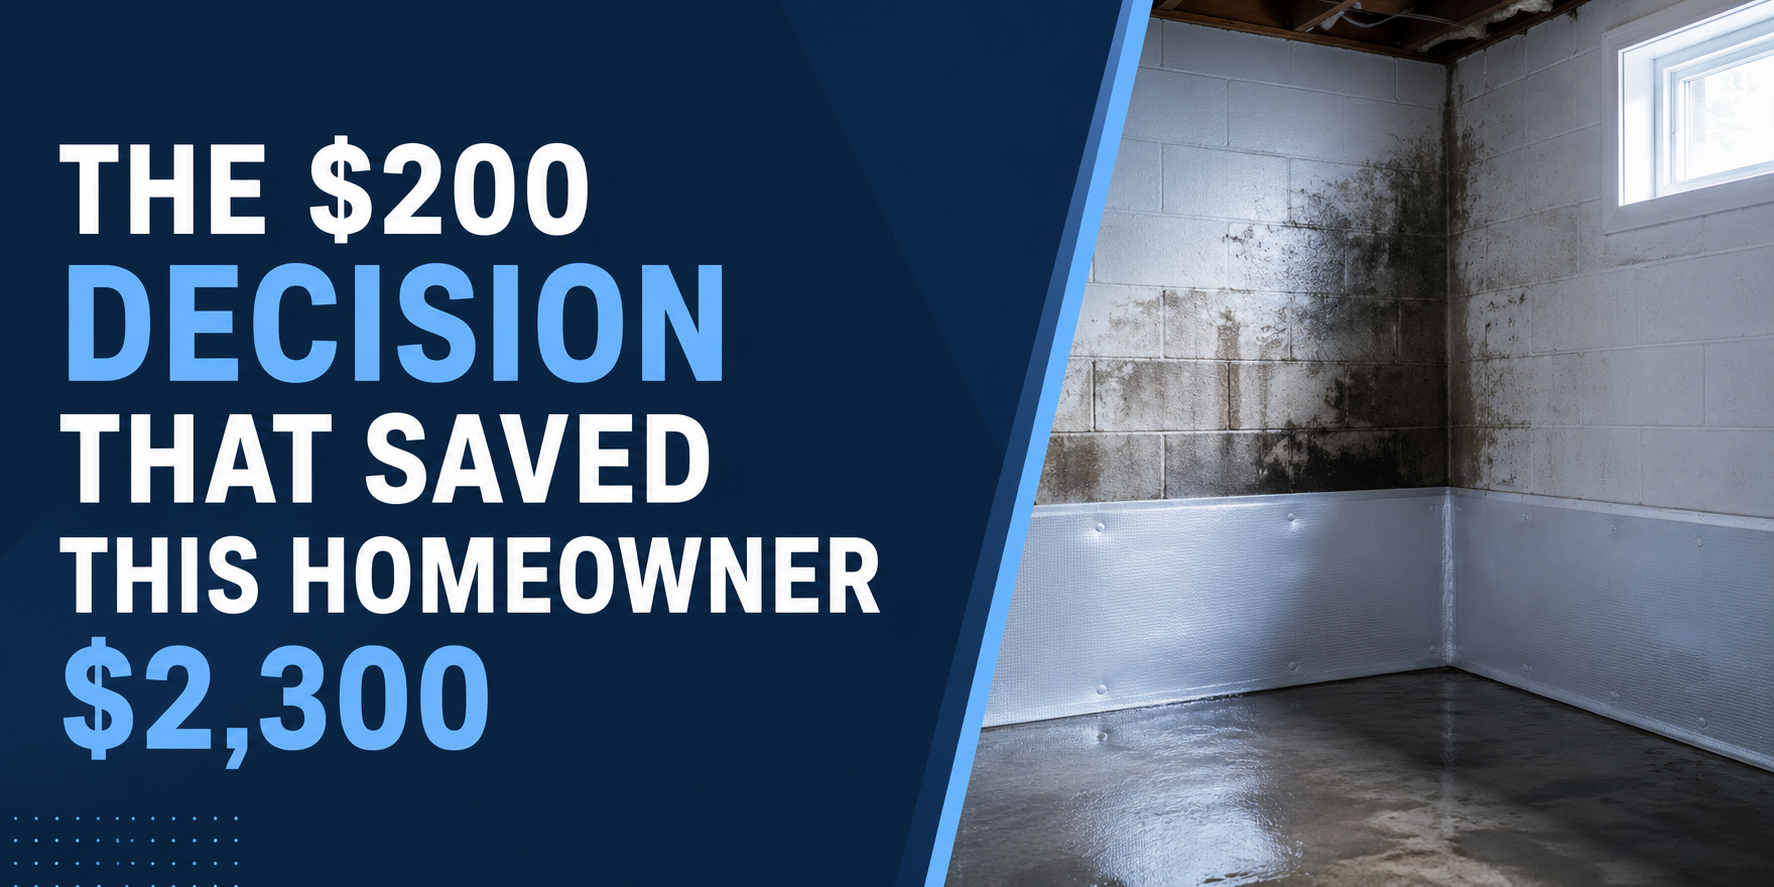
Now, they're facing the exact situation every professional hopes to help customers avoid - paying twice for the same job.
The company won their business by underbidding the competition.
But here's what the low price got them: an encapsulation system that's already failing, standing water around their foundation, and moisture problems that never got solved.
Now they need a complete re-encapsulation and a dehumidifier installation - essentially starting from scratch.
Three Critical Failures in Budget Encapsulation
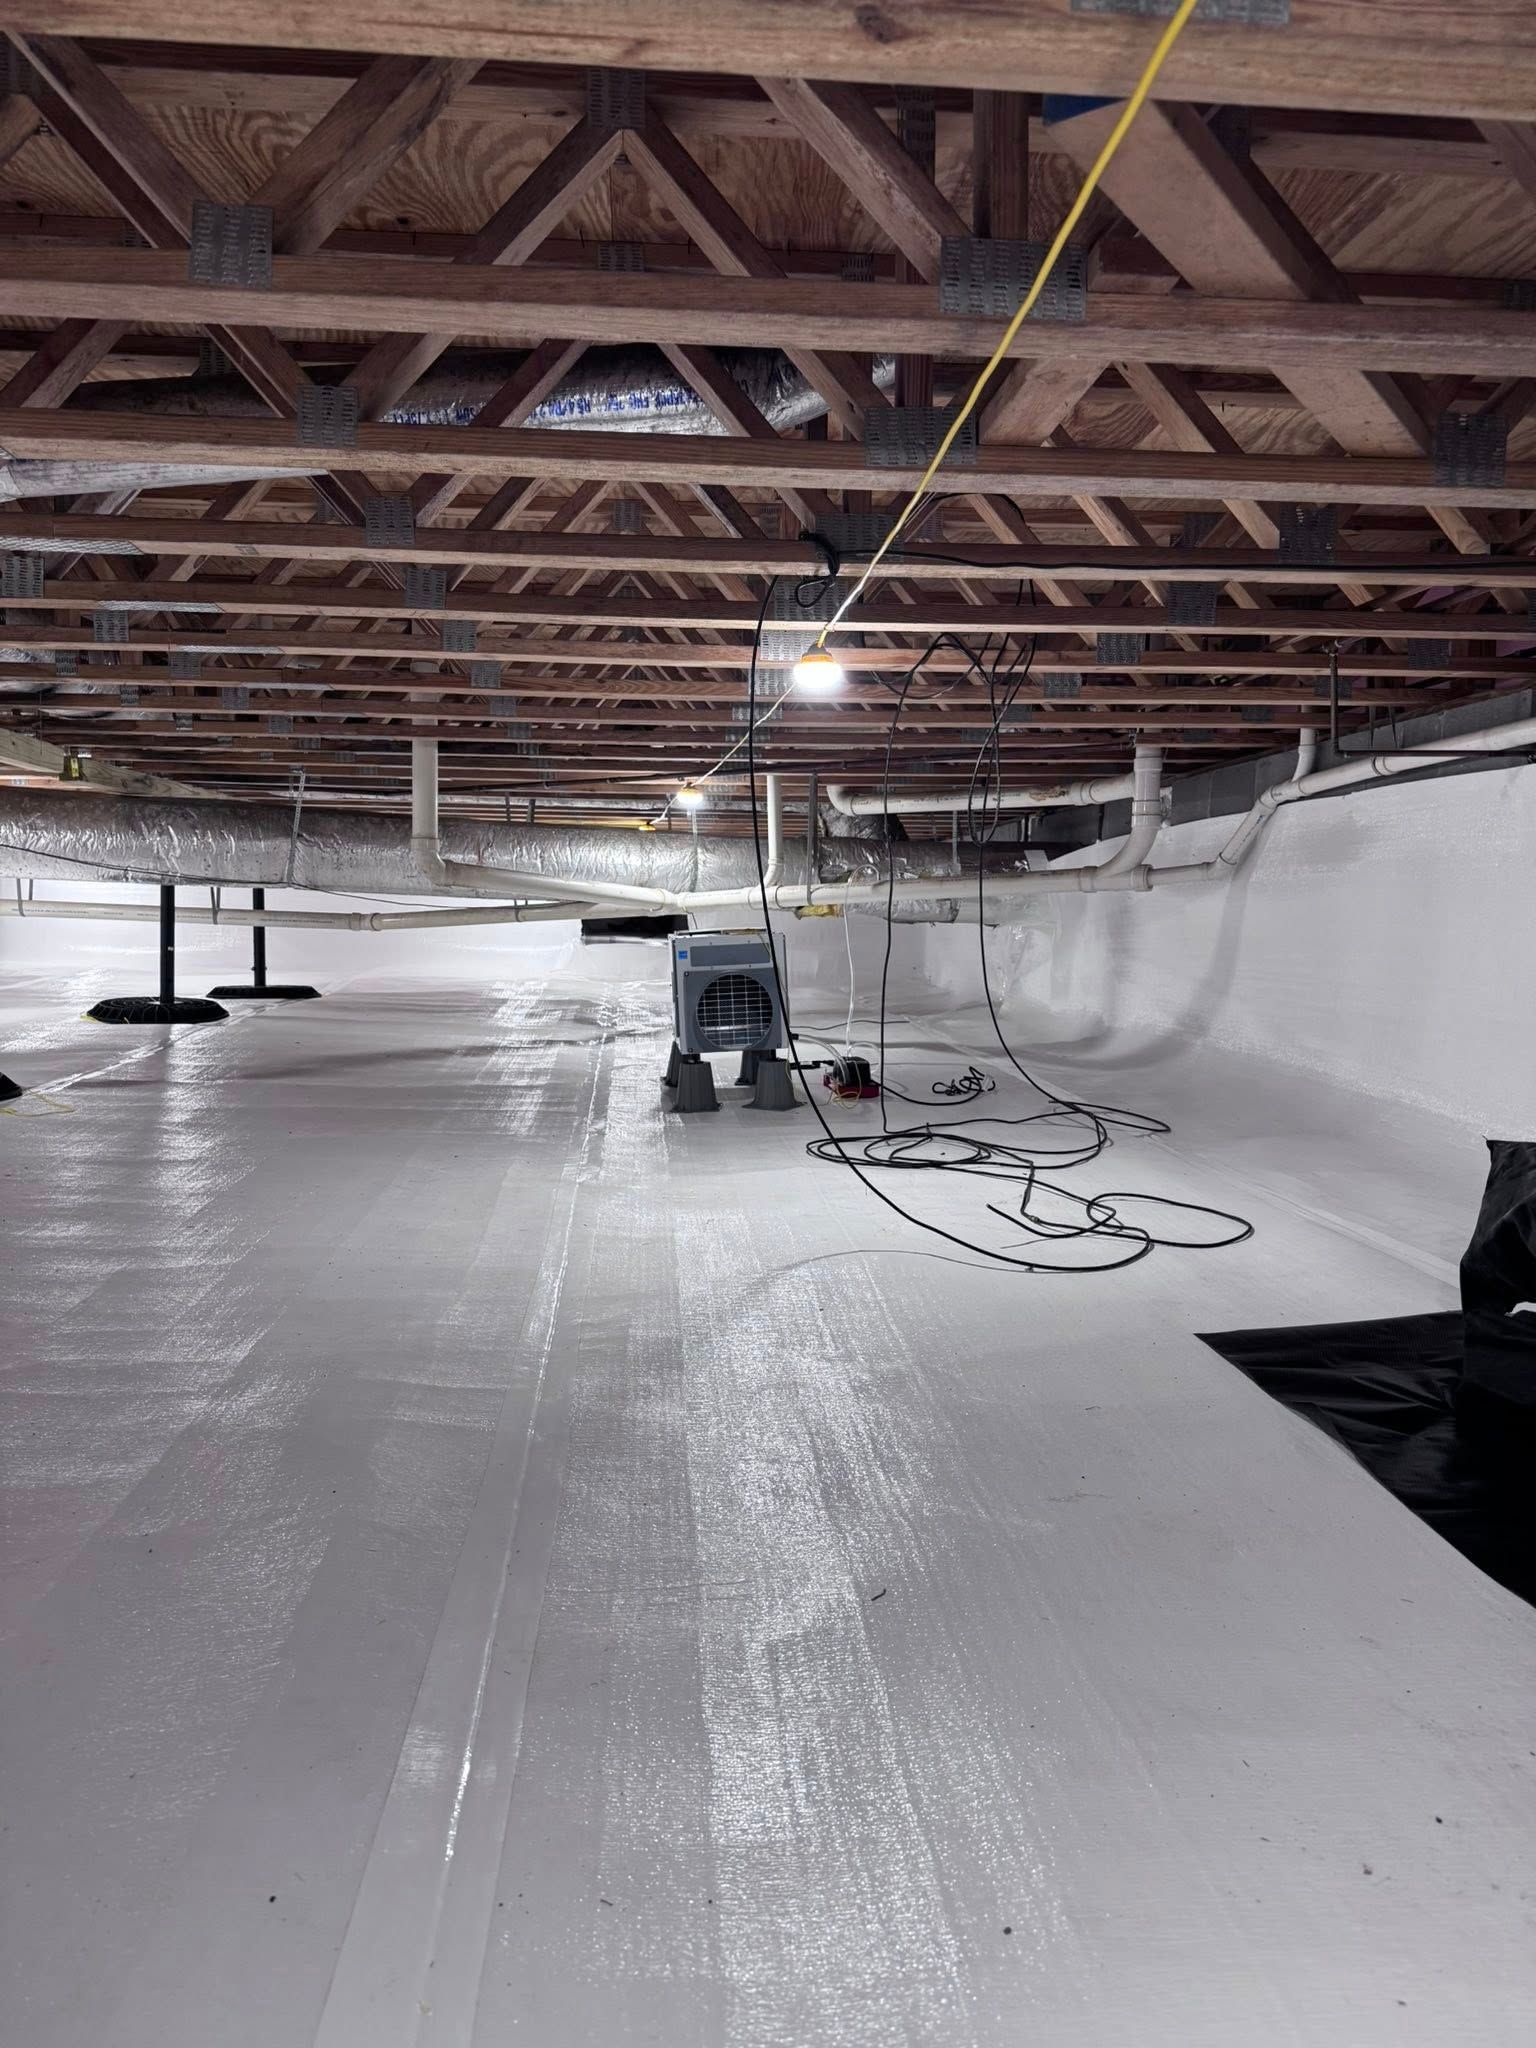
When I examined this crawl space, I found three major problems that are unfortunately common with budget encapsulation jobs:
- Paper-Thin Protection
They used an 8-10 mil vapor barrier - that's about as thick as a heavy-duty garbage bag. It's already puncturing throughout the crawl space. A proper encapsulation needs thick, durable material that can stand up to years of use. - Backwards Installation
Their spray foam method puts the vapor barrier down first, then sprays foam on the walls over it. This traps water on top of the barrier instead of letting it drain properly. It's like installing a gutter system upside down - it just doesn't work. - Missing Essential Components
They skipped the dehumidifier, which is crucial for maintaining proper moisture levels. It's like building a house without a roof - the rest of the work doesn't matter if you're missing a critical piece.
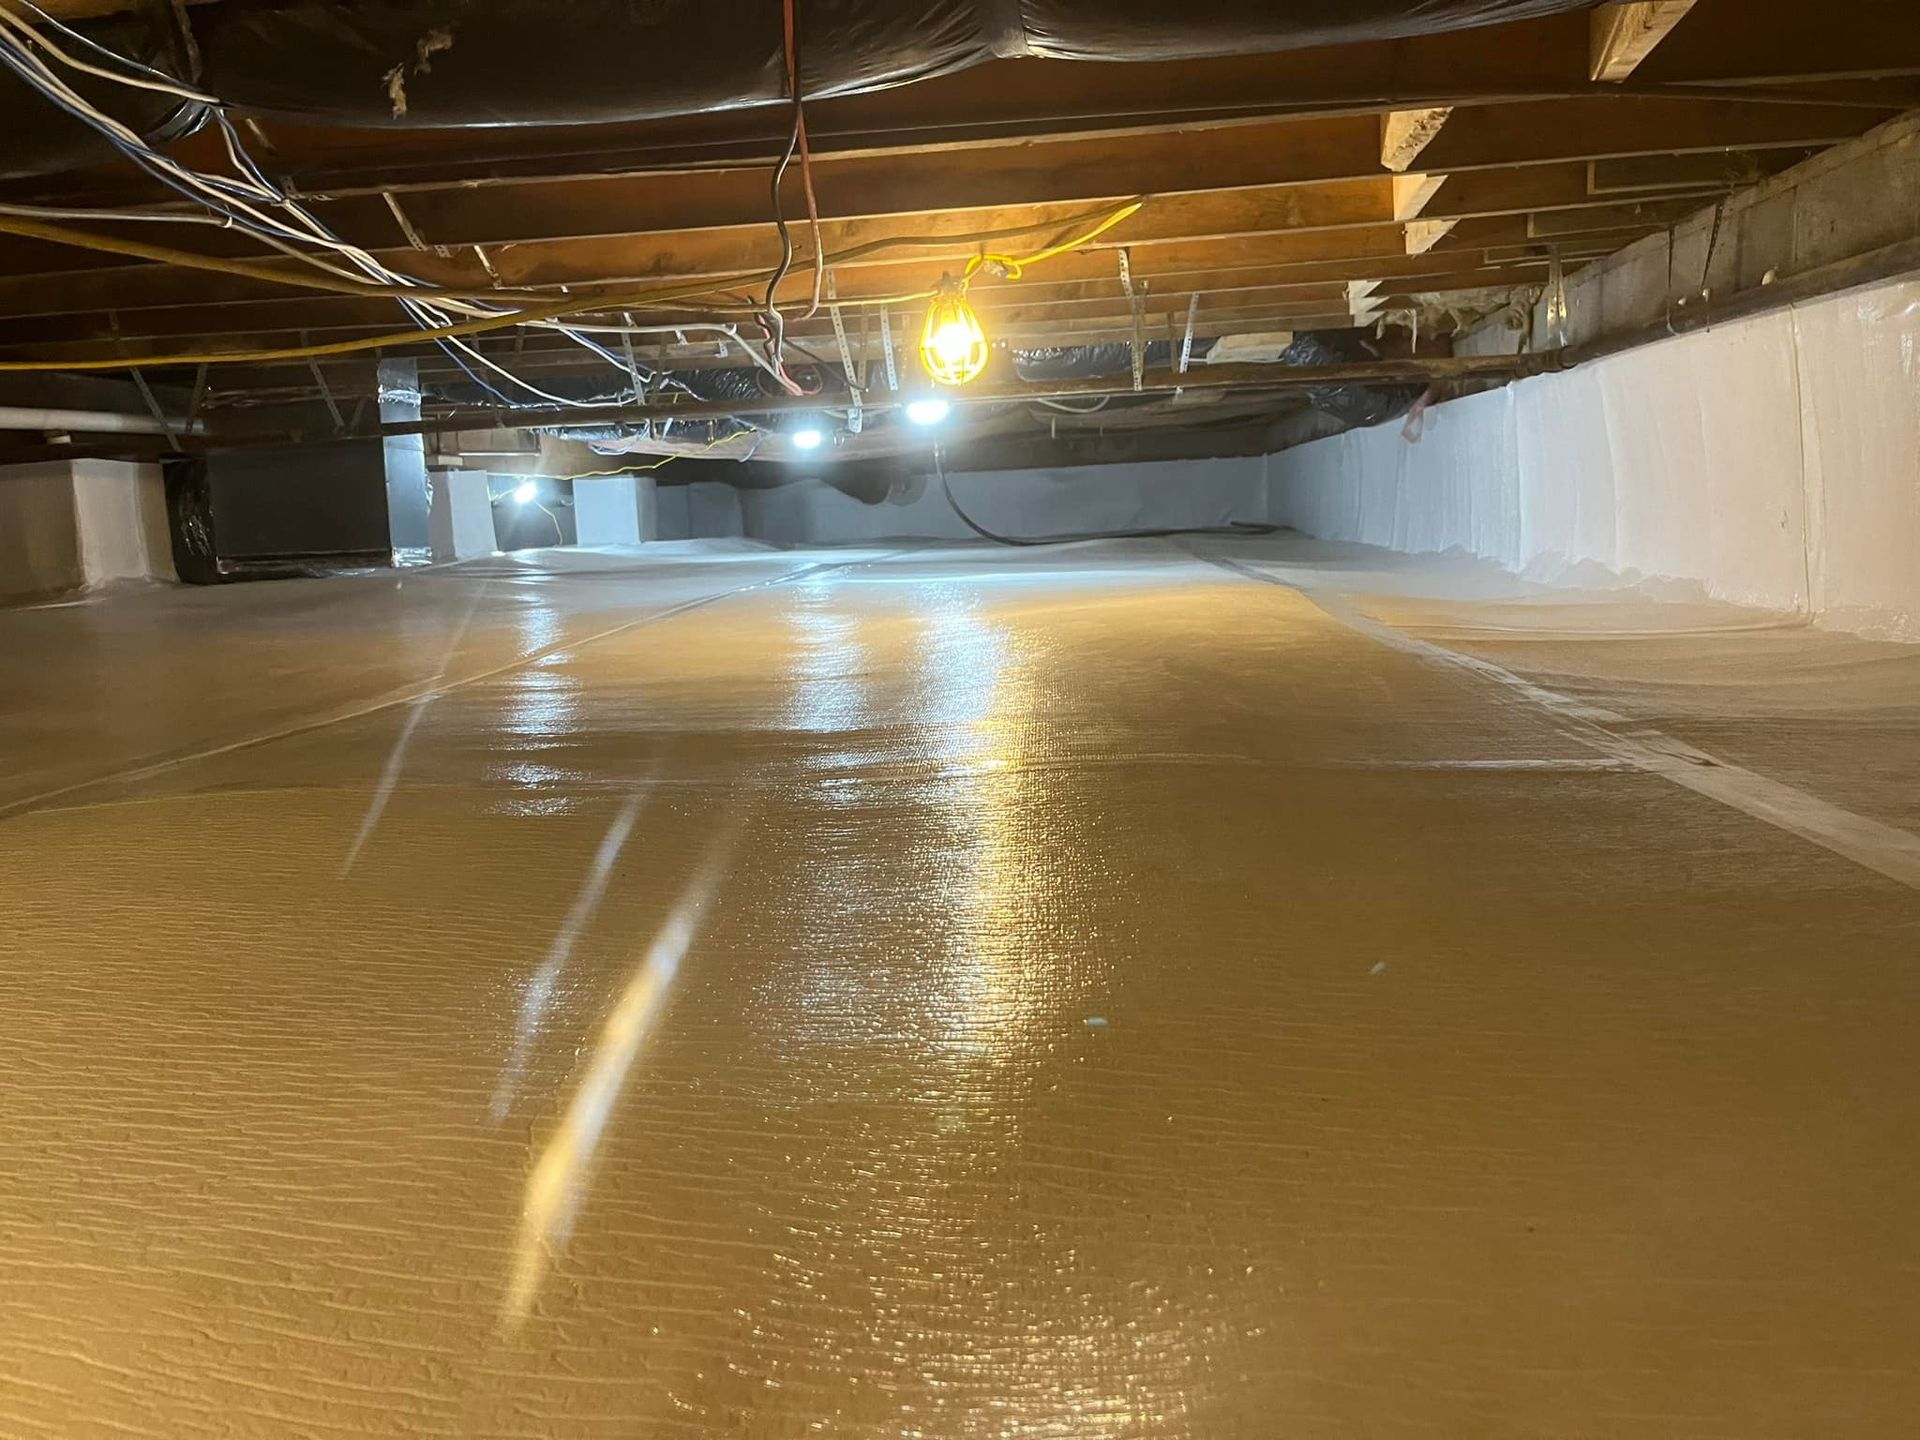
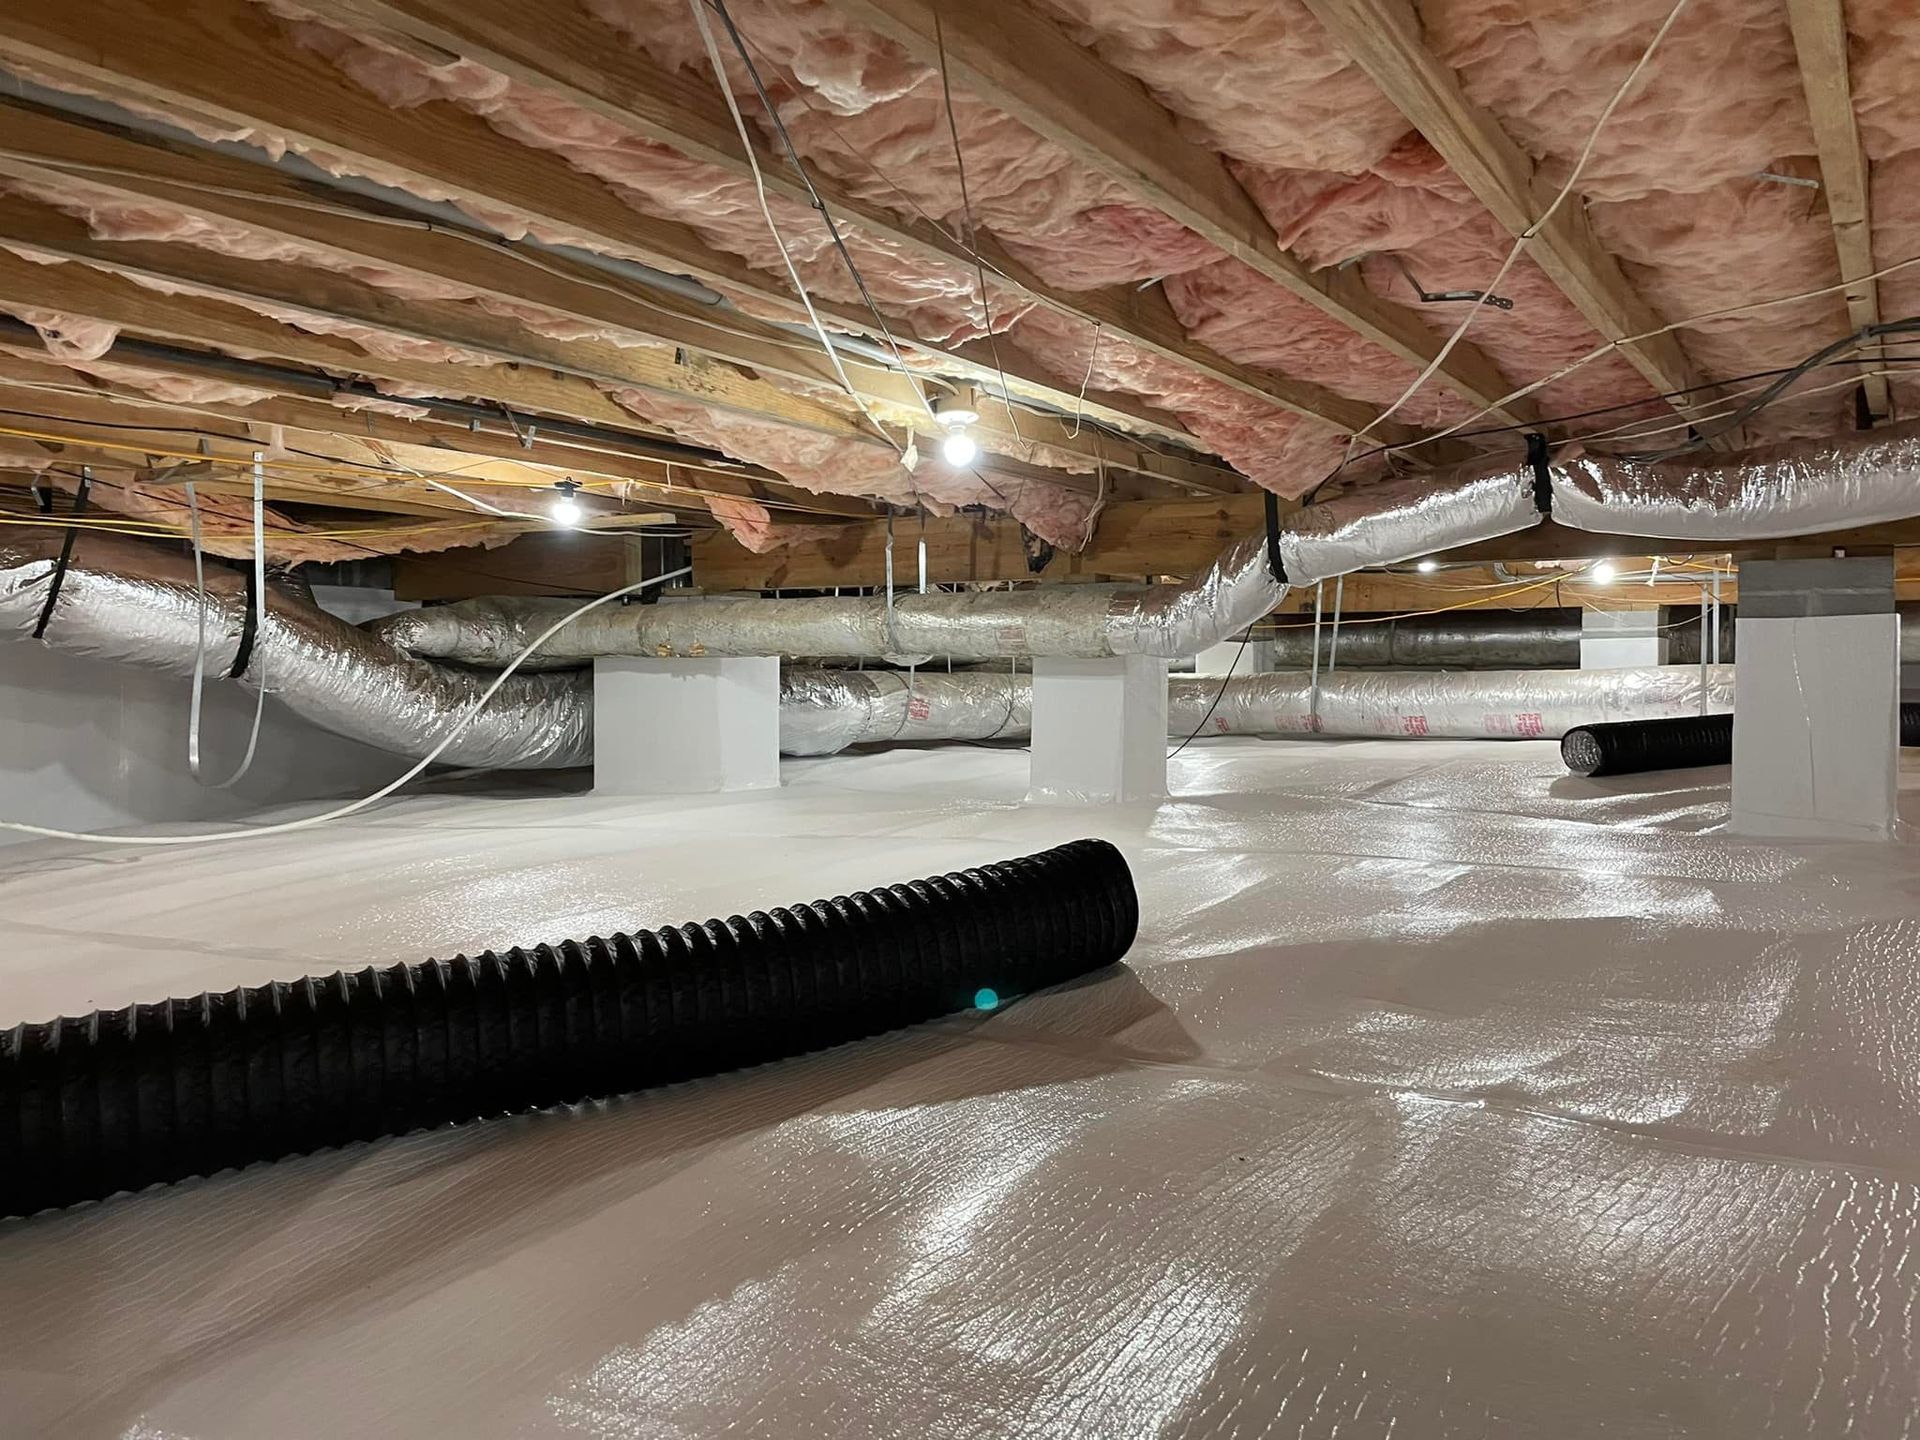
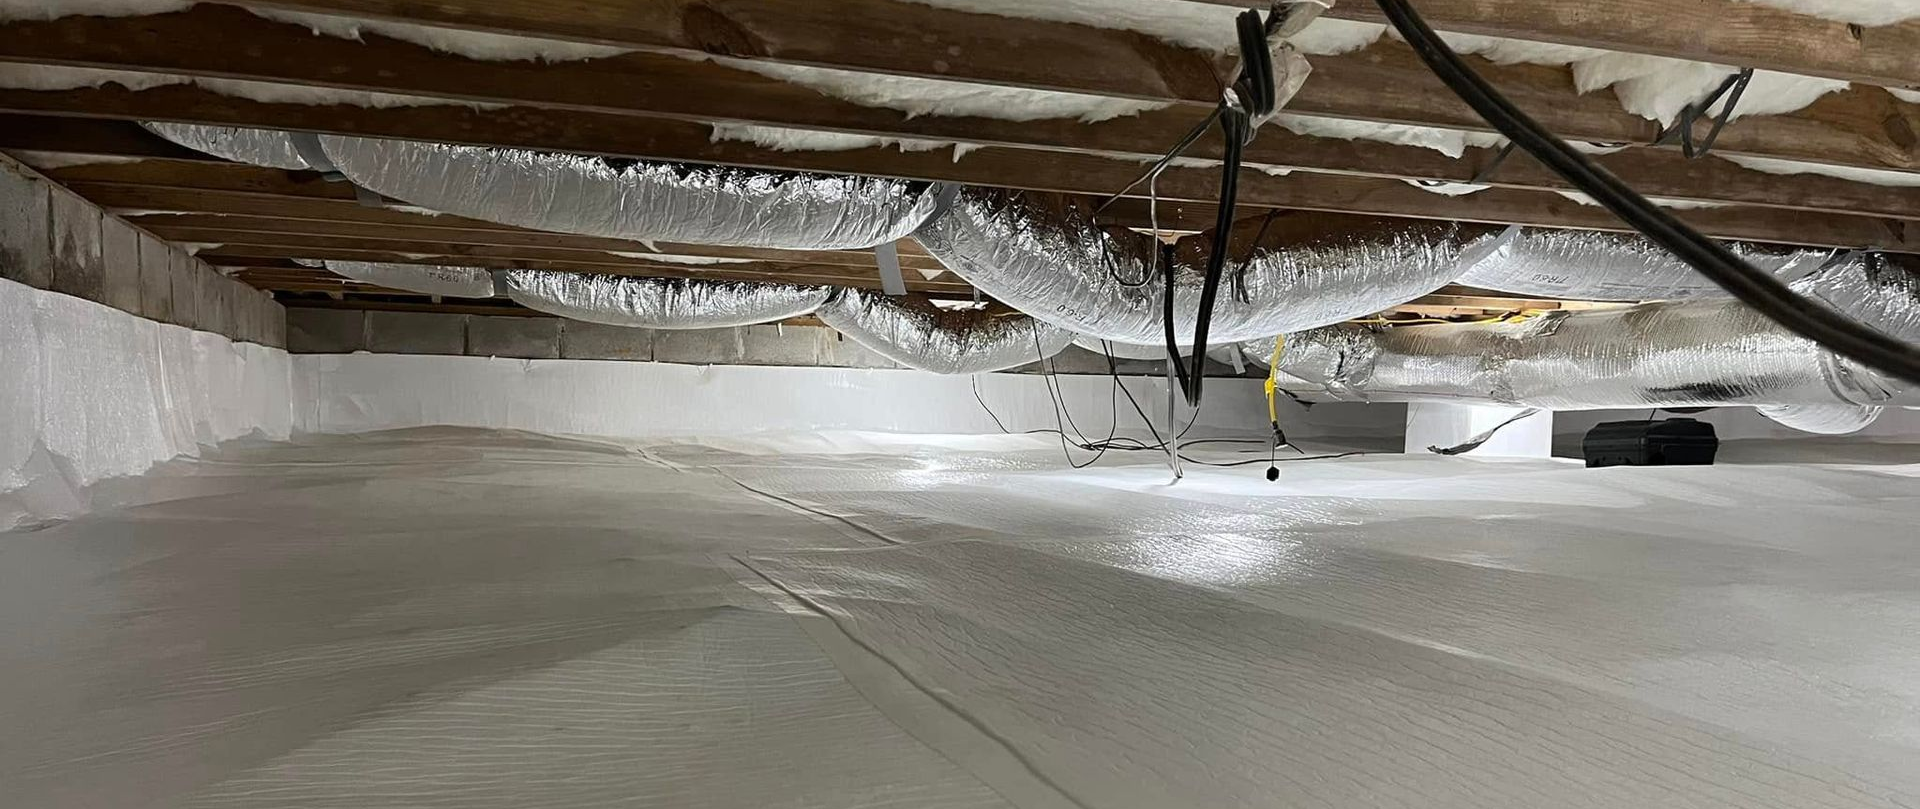
The Science Behind Proper Installation
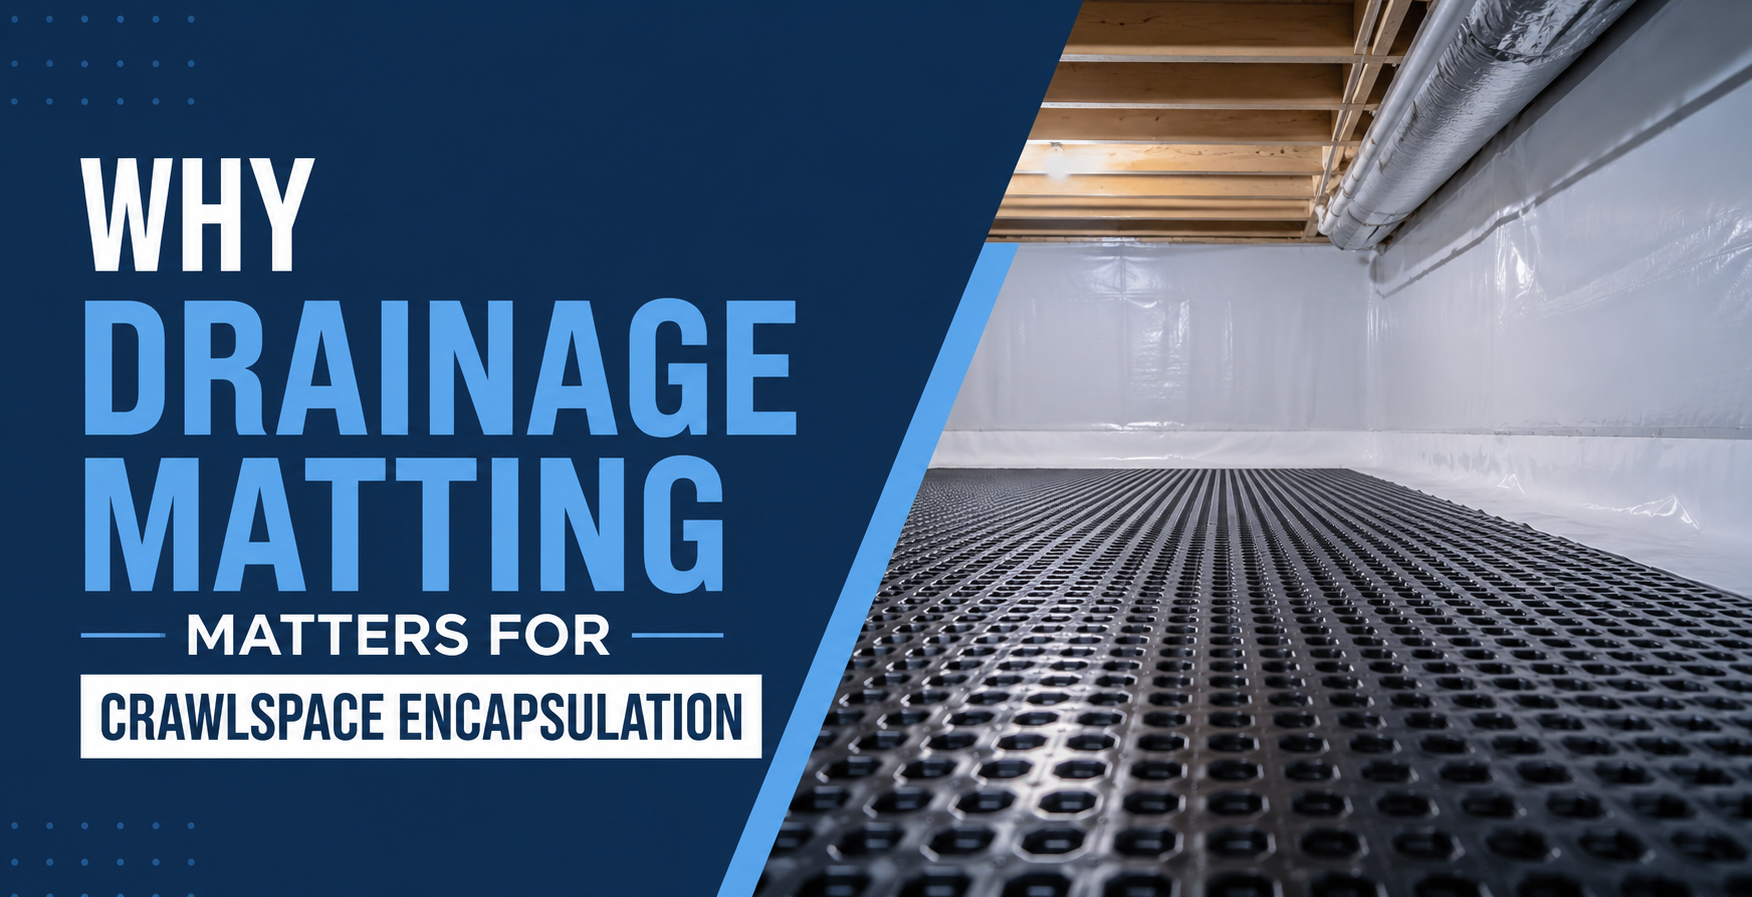
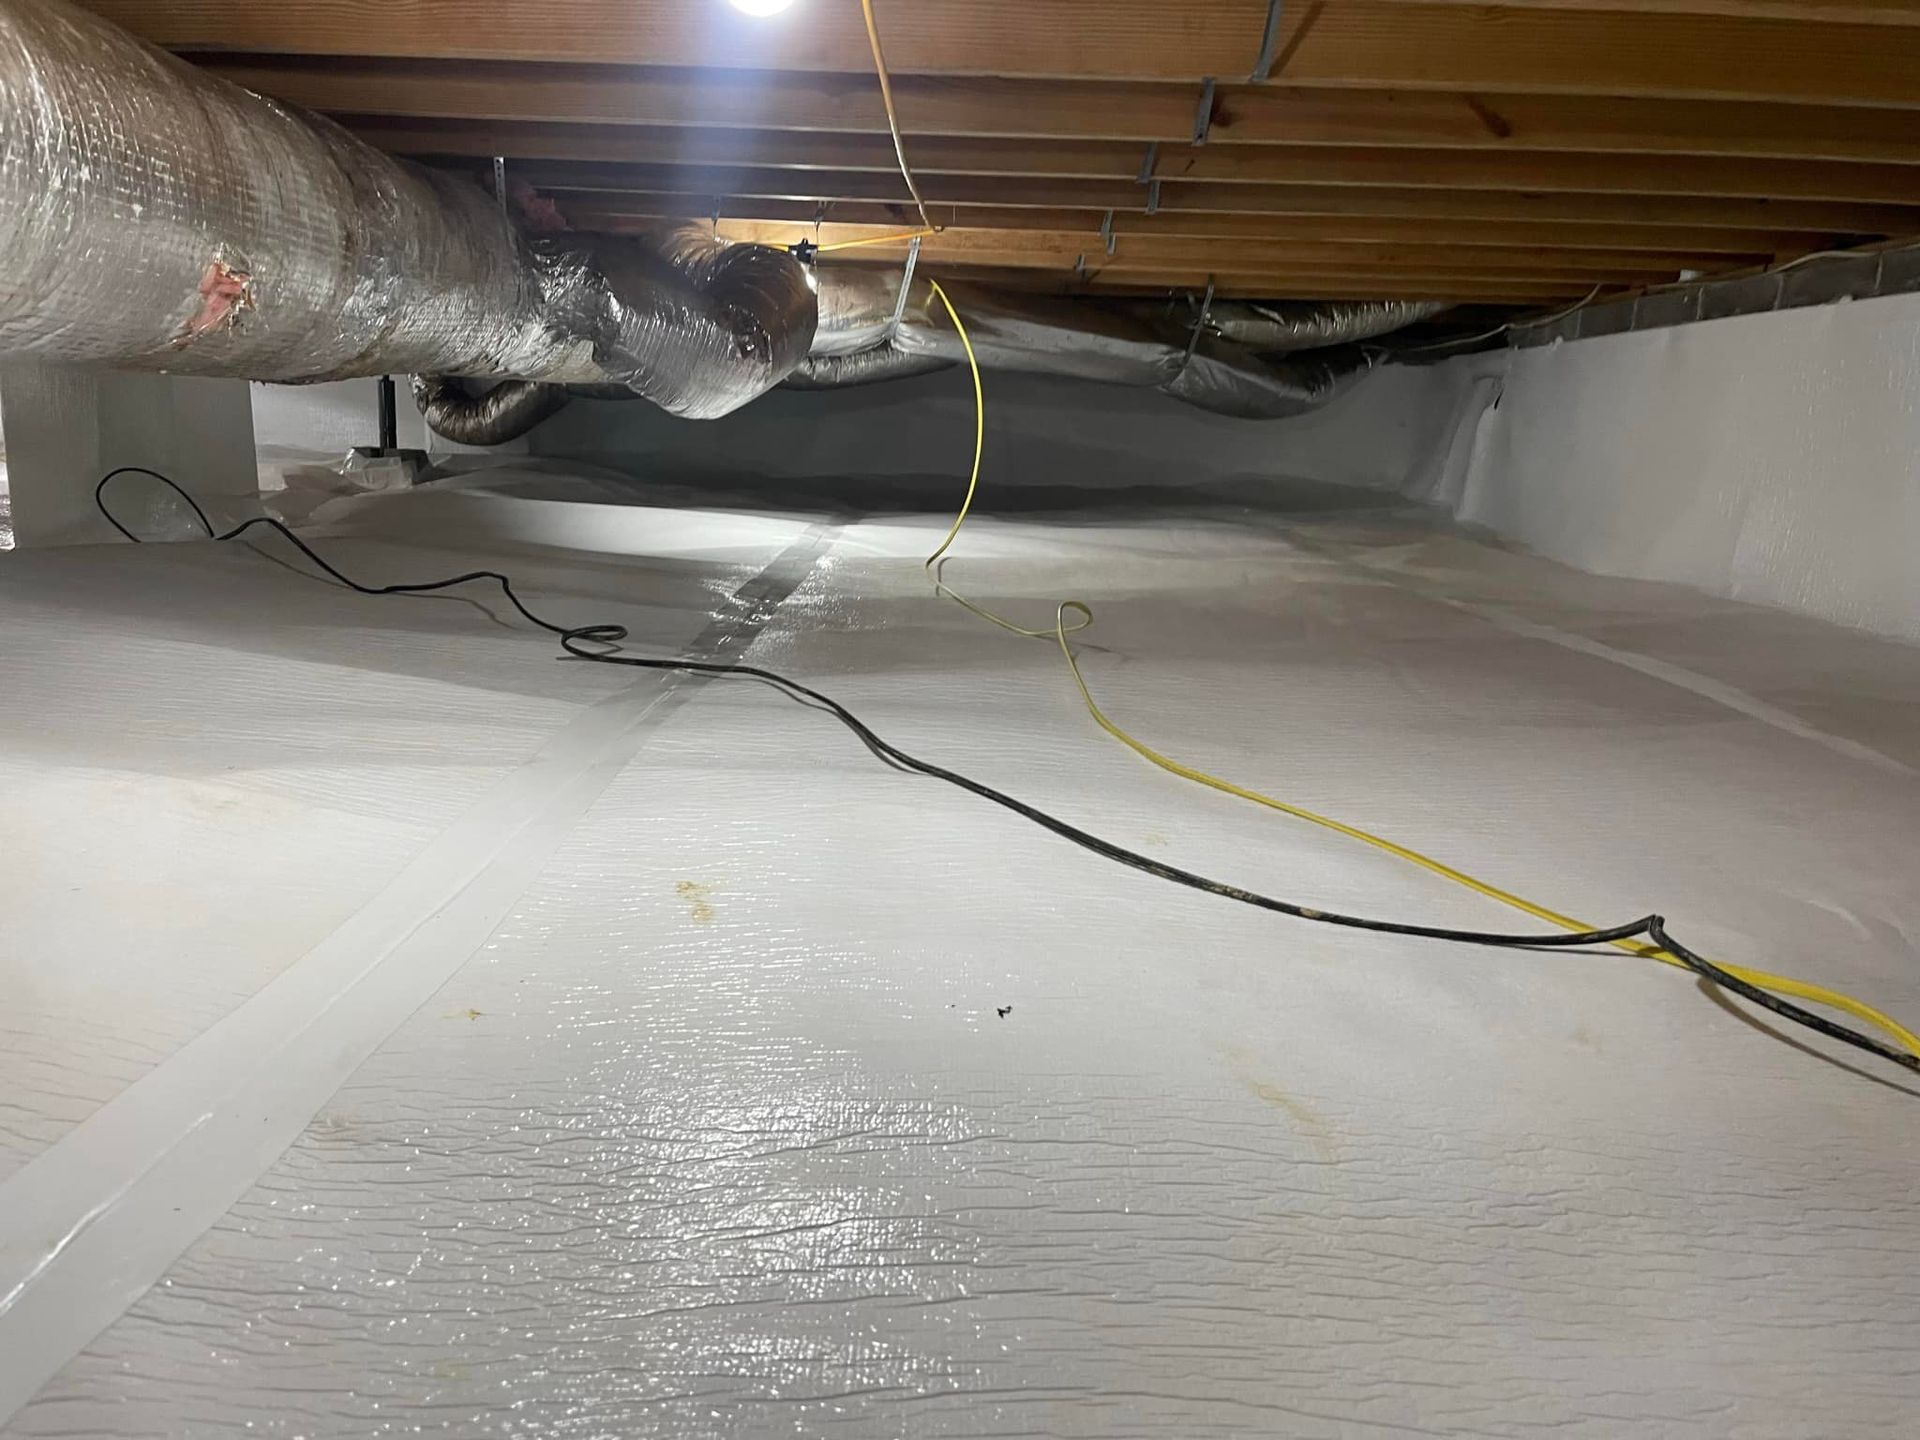
There's a right way and a wrong way to encapsulate a crawl space. When we do an encapsulation, we start with the walls. The vapor barrier goes directly against the foundation, then runs down to meet the floor barrier. This creates a natural path for any moisture to flow underneath the system, not on top of it.
Think of it like shingles on a roof - they overlap from top to bottom so water flows down and away. When you install them backwards, you're asking for leaks. The same principle applies in your crawl space.
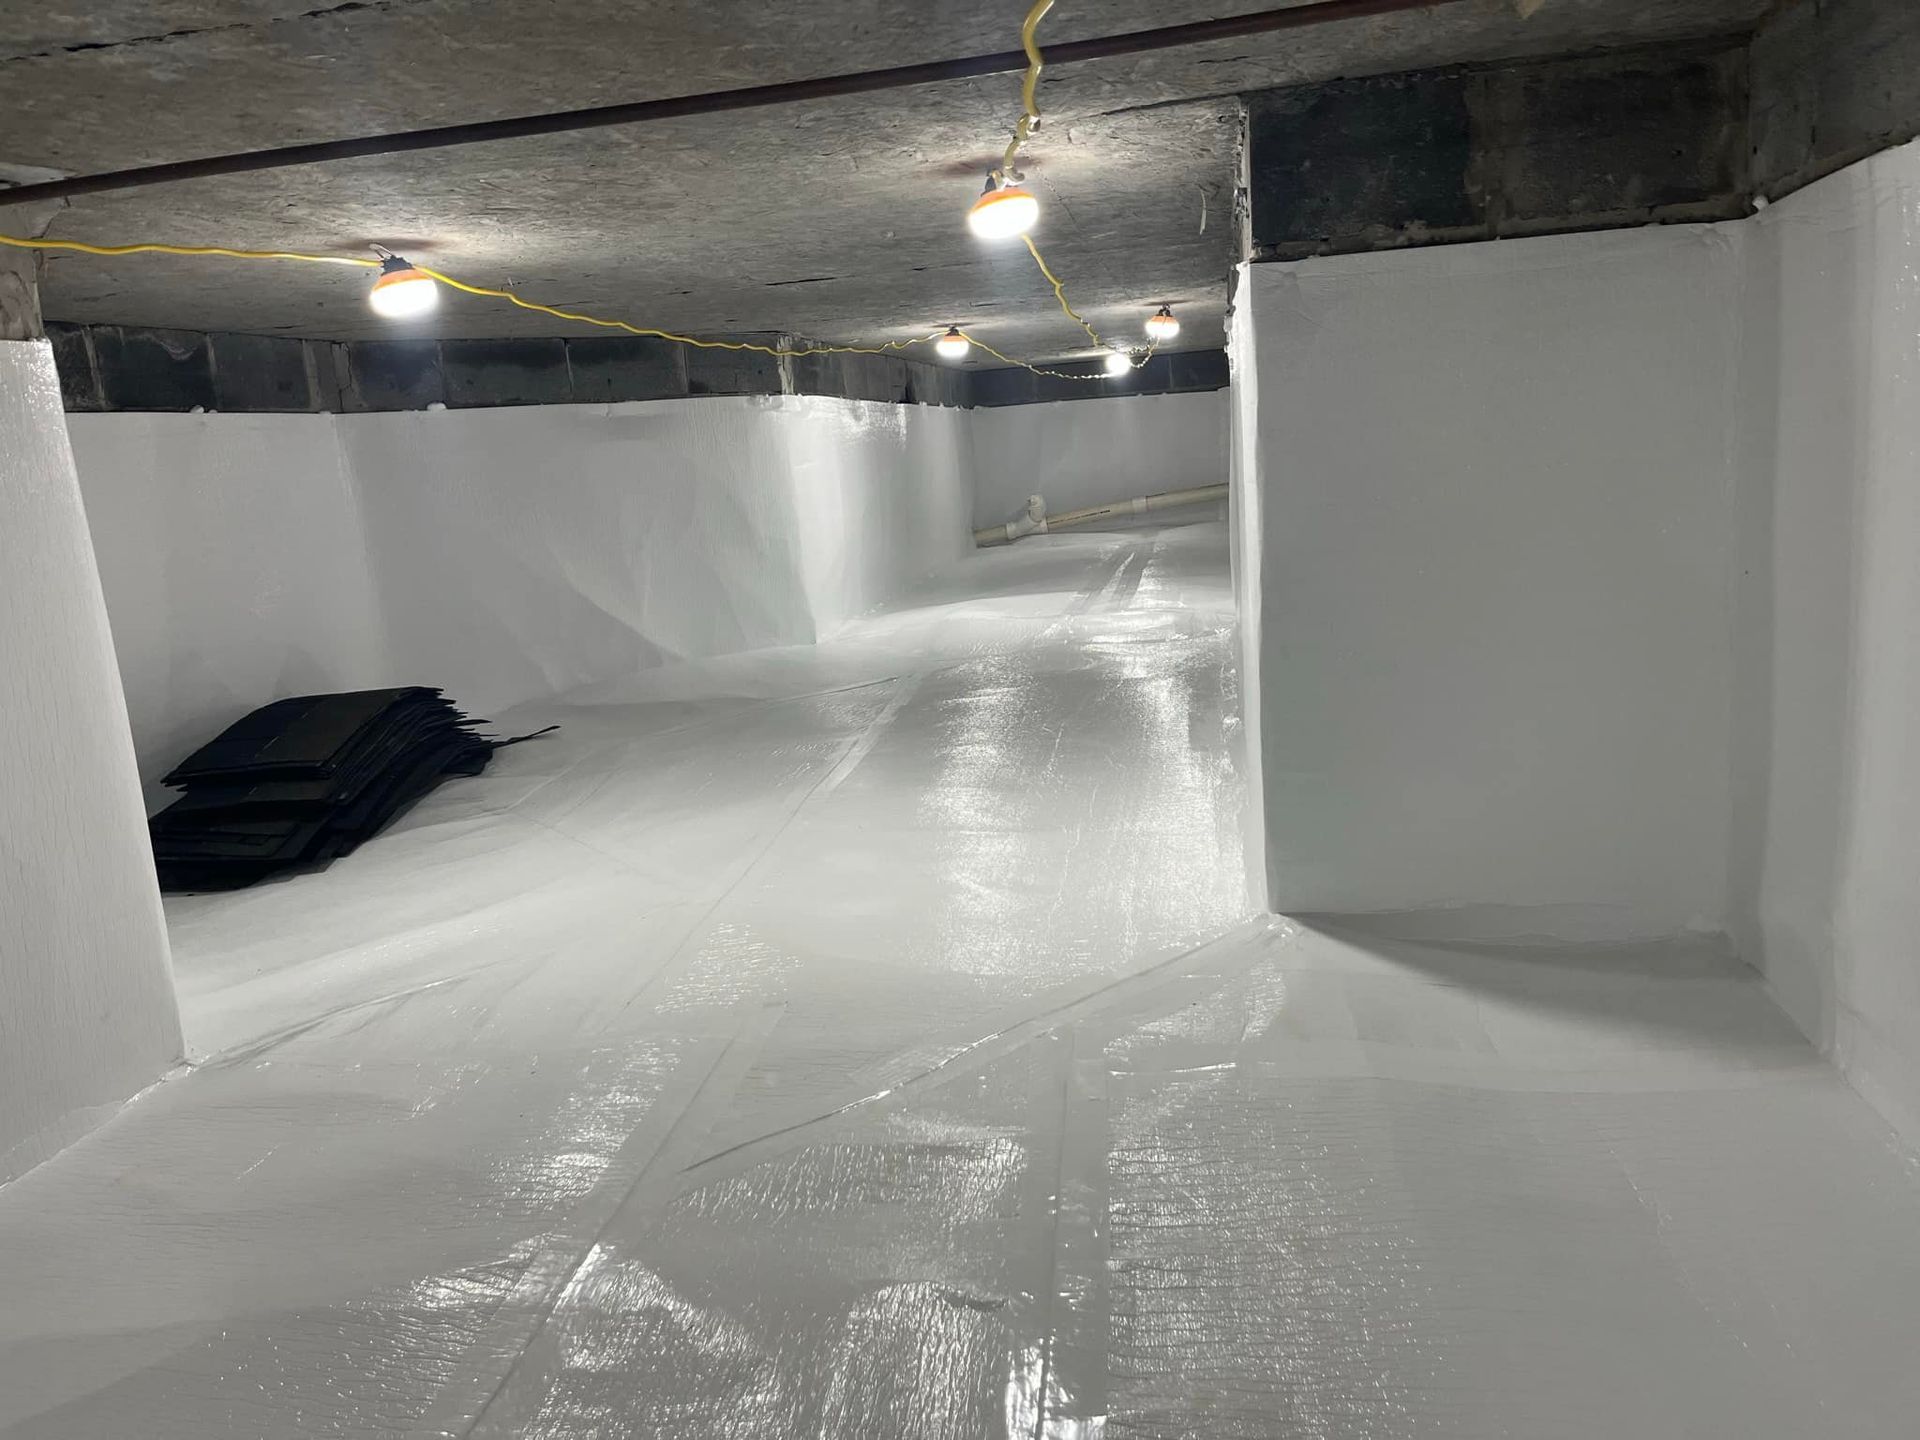
Quality Materials Make the Difference
The thickness of your vapor barrier isn't just a number - it's the difference between lasting protection and repeated repairs:
- Budget companies use 8-10 mil barriers that tear easily
- Professional-grade barriers are at least twice as thick
- Stronger materials resist punctures from regular maintenance
- Quality barriers last years longer than budget materials
When you factor in the cost of replacing a thin barrier versus installing a thick one once, the math is clear. Quality materials might cost more upfront, but they save money over time.
How to Protect Your Investment
Before you choose a crawl space contractor, ask these essential questions:
- What thickness vapor barrier do you use?
- Can you explain your installation method?
- Do you include a dehumidifier in your system?
- What's your warranty coverage?
Remember - if a quote seems too good to be true, ask what they're leaving out. The cheapest option usually costs more in the long run.
Get It Done Right the First Time
Look, I get it. When you're looking at crawl space encapsulation quotes, it's tempting to go with the lowest price. But I've seen too many homeowners learn the hard way that cheap work isn't actually cheap - it's just delayed expense.
Quality encapsulation isn't just about materials or just about installation. It's about doing everything right, from choosing the proper vapor barrier thickness to installing it correctly to including essential components like dehumidifiers. When any of these elements are missing, you're not saving money - you're just pushing costs down the road.
Don't make the same mistake these homeowners did. Let us help you do it right the first time.