
Blog
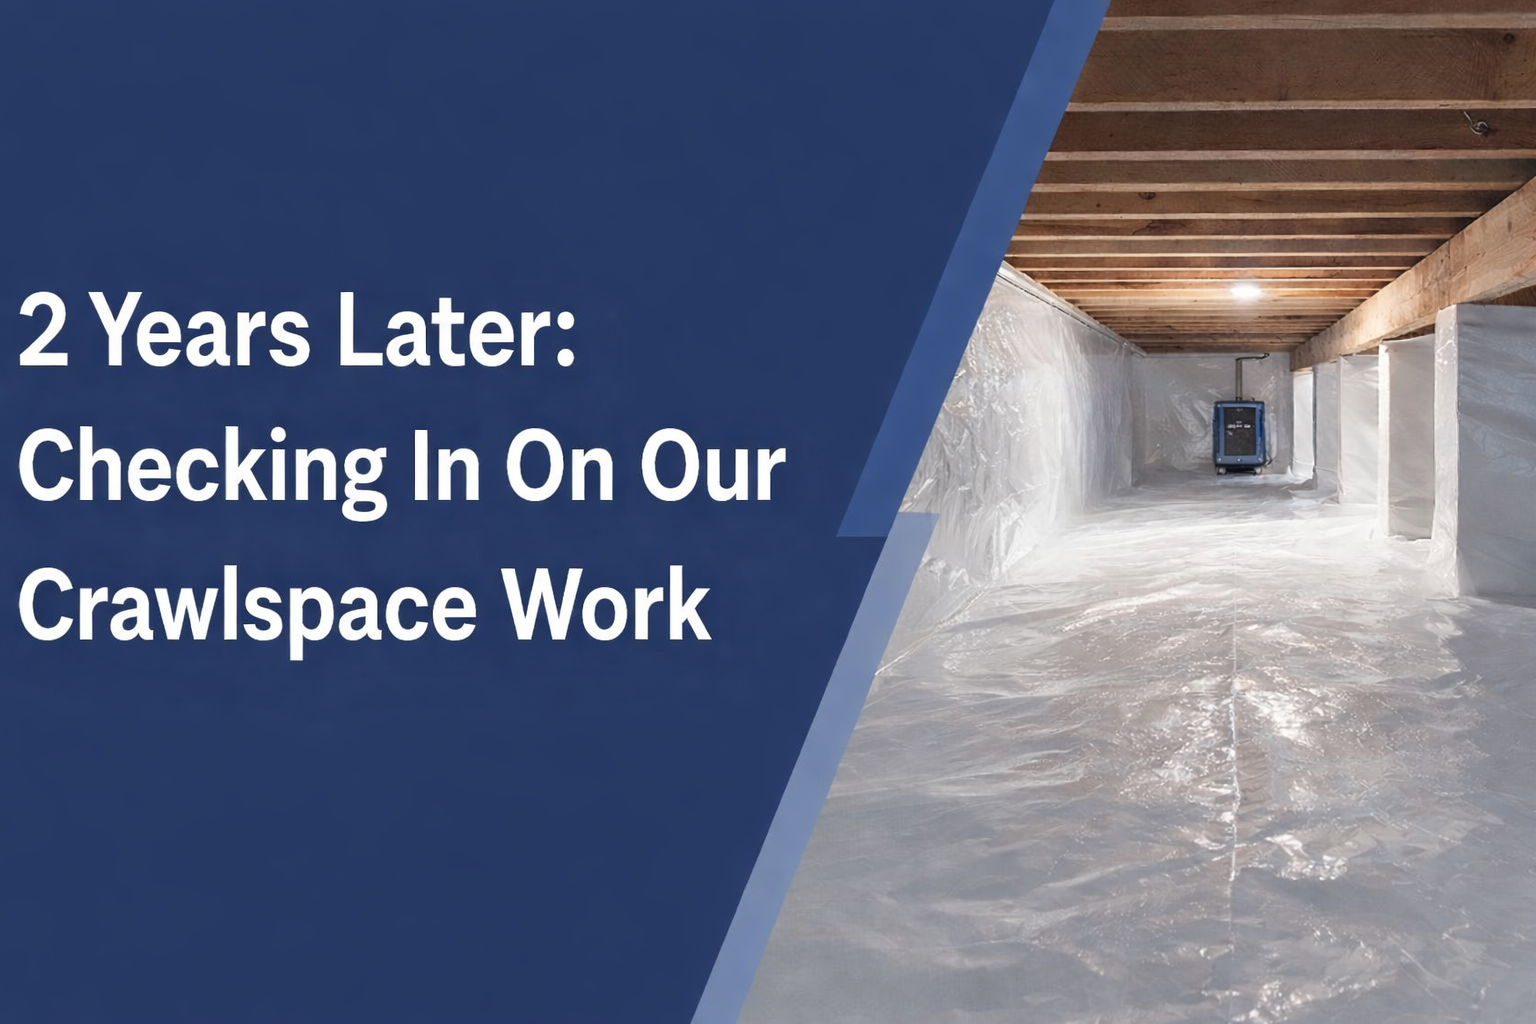
I got a call last week from a customer we did work for two years ago. Their dehumidifier kept tripping the breaker. They weren't sure what was going on, but they knew something wasn't right.
I got called out to a house in Knoxville yesterday. Built in the 60s. Nice older home. The sellers haven't listed it yet. They're getting ahead of things - fixing issues before they put the sign in the yard. Smart move. Most people don't do this. They wait for the inspection. Then problems come up. Buyers get nervous
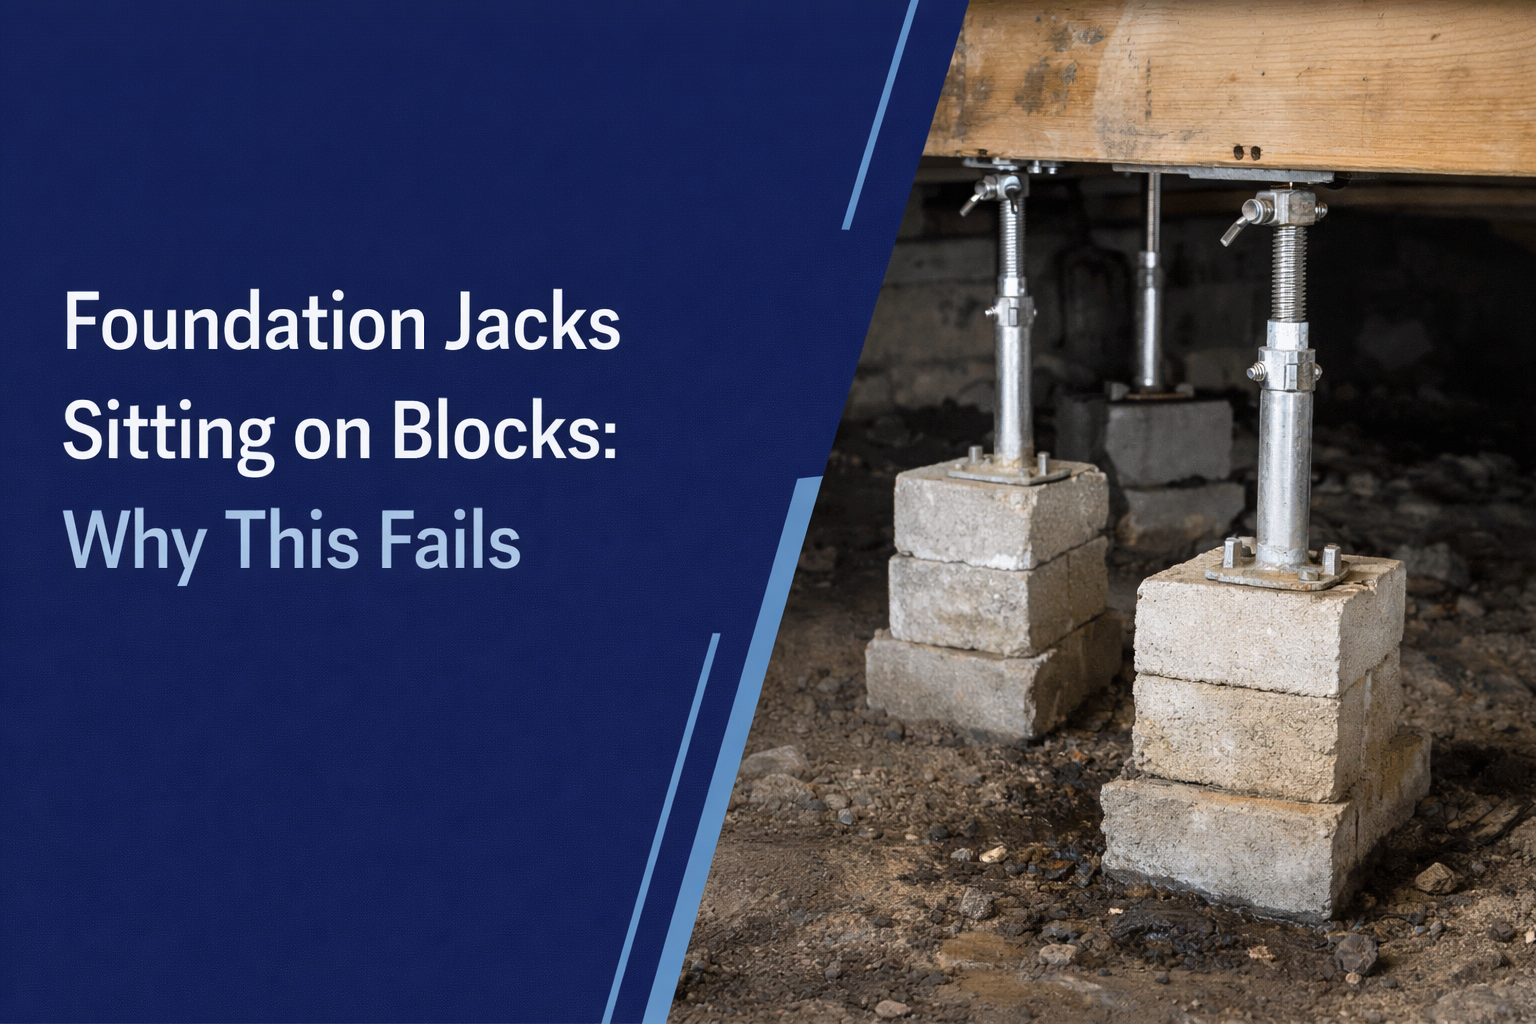
I got a call a few days ago about a crawlspace I'd quoted months earlier. The customer had some serious foundation issues - cracks all around the perimeter, termite damage to the structure, and floor joists that needed support. I quoted them helical piers for the foundation and 15 jacks with proper footers and beams f

I met with some customers yesterday who are selling their house. It was built in the 1960s, and the crawlspace looks like most crawlspaces from that era - dirt floor, some moisture issues, fungal growth on the wood. They want to get it cleaned up before they list. Smart move. But then they asked the question I hear fr
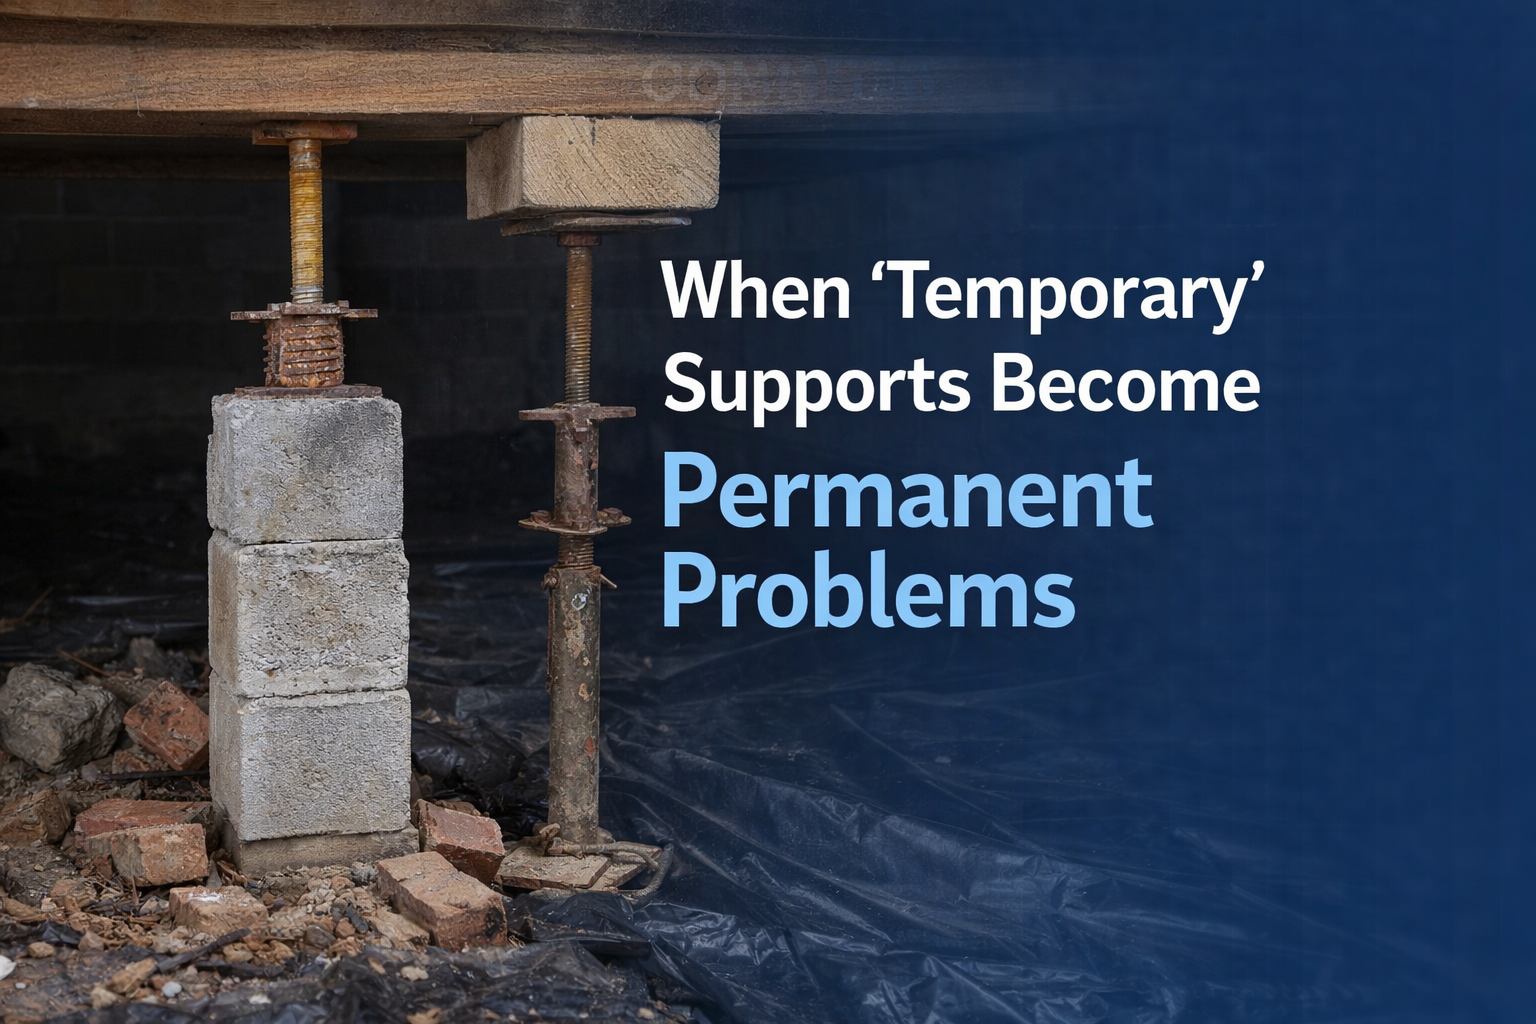
I was out in Sevierville yesterday looking at a crawlspace. The homeowner called because things weren't right upstairs. Doors wouldn't close. Windows were stuck. Drywall was cracking. When I got down into the crawlspace, I found the problem immediately. The main beam - the one holding up the center of the house - was
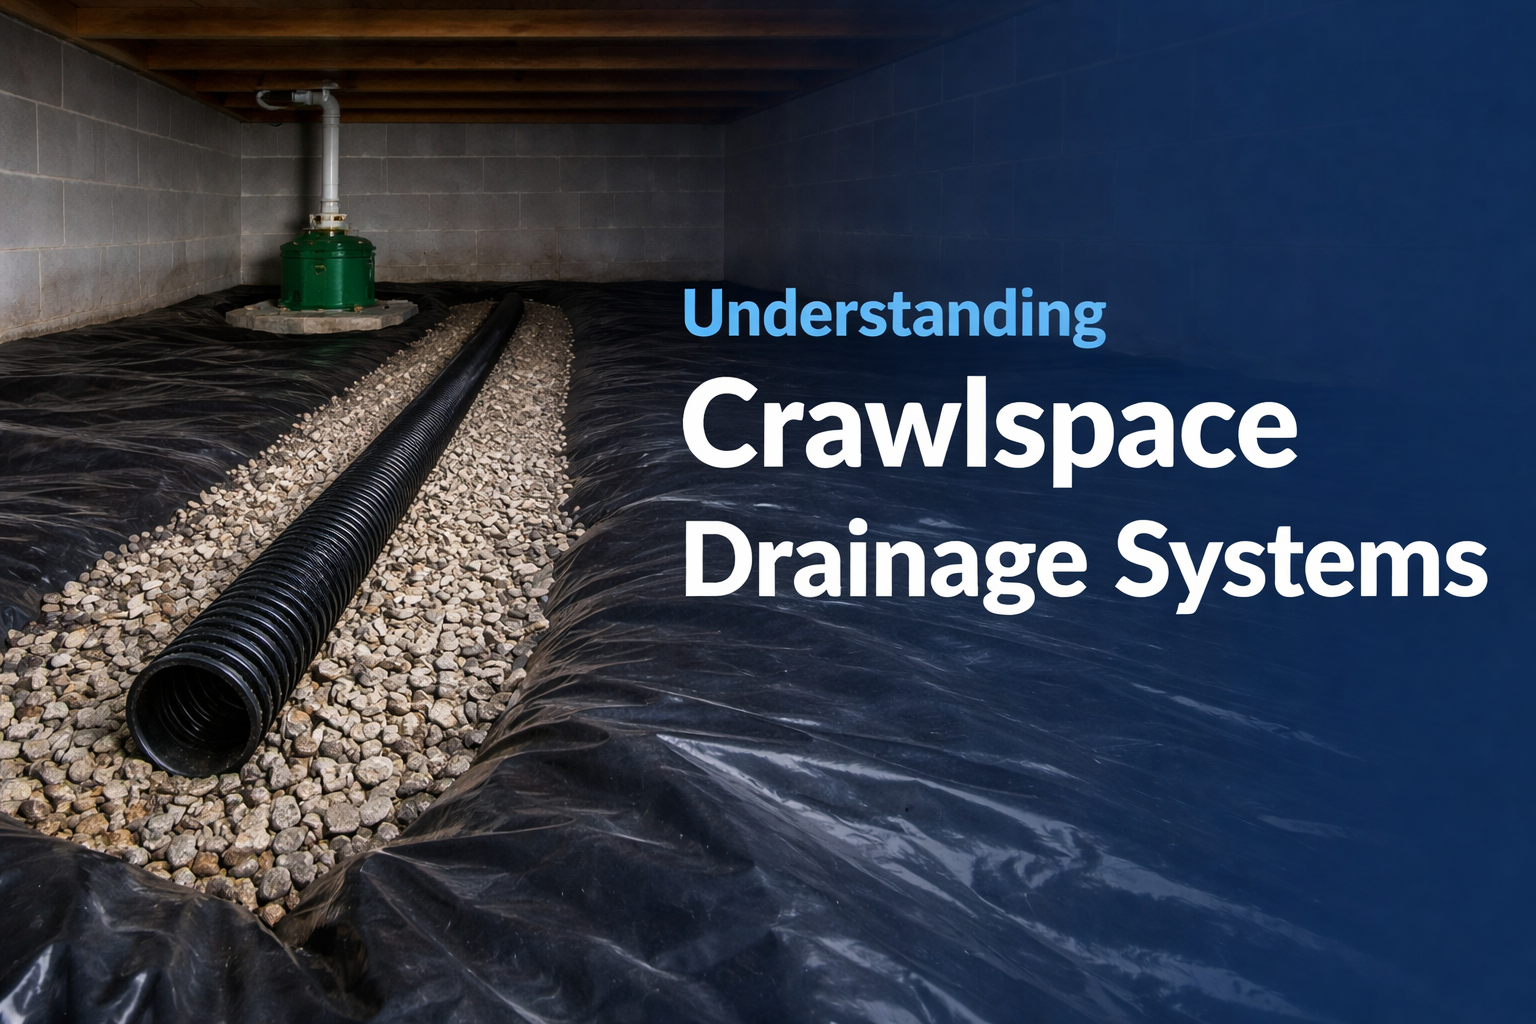
I walked a crawlspace in Dandridge yesterday that perfectly shows why so many homeowners stay frustrated with water problems. Standing water everywhere. Around the whole perimeter. Both the old house side and the newer addition. And right in the middle? A sump pump sitting in a Home Depot bucket. Now, the pump itsel
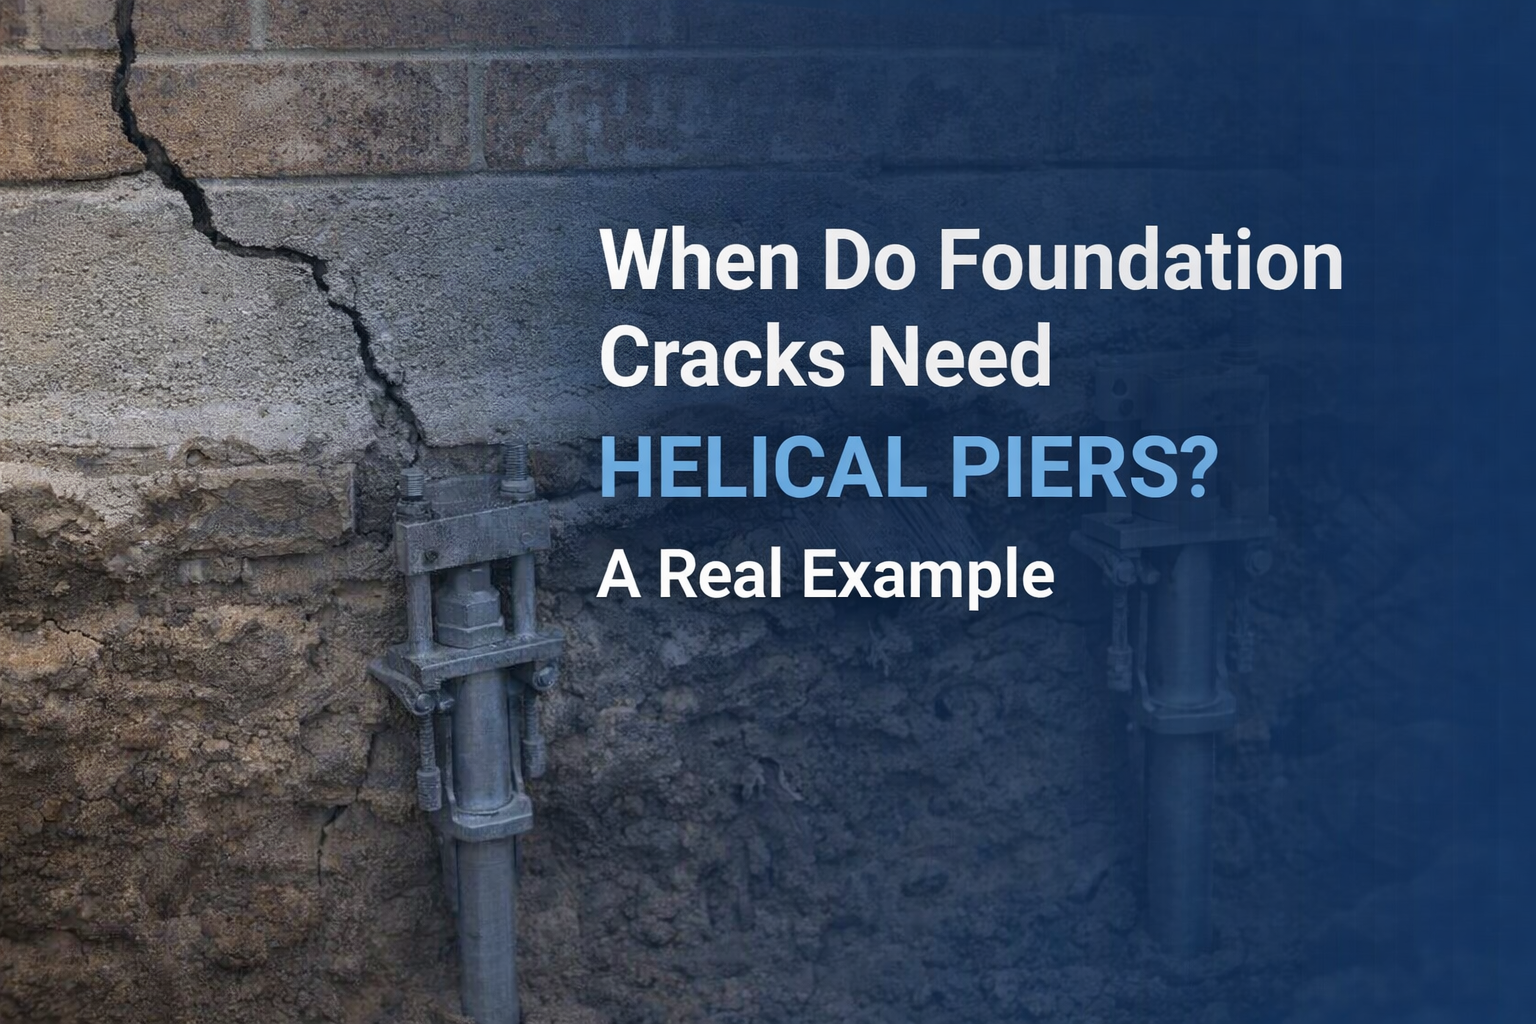
I got called out to a crawlspace in Farragut yesterday. The homeowner was seeing cracks in his drywall upstairs. Nothing terrible yet, but enough to make him wonder what was going on. When I got down into the crawlspace, I found the answer pretty quick. Half-inch cracks running down the foundation wall in a stair-ste

I got called out to Pioneer, Tennessee yesterday to look at a crawlspace. When I got down there, it was like walking on a waterbed. Standing water everywhere. The homeowner was ready to get quotes for encapsulation. They'd been dealing with moisture issues and fungal growth. They figured encapsulation would solve it.
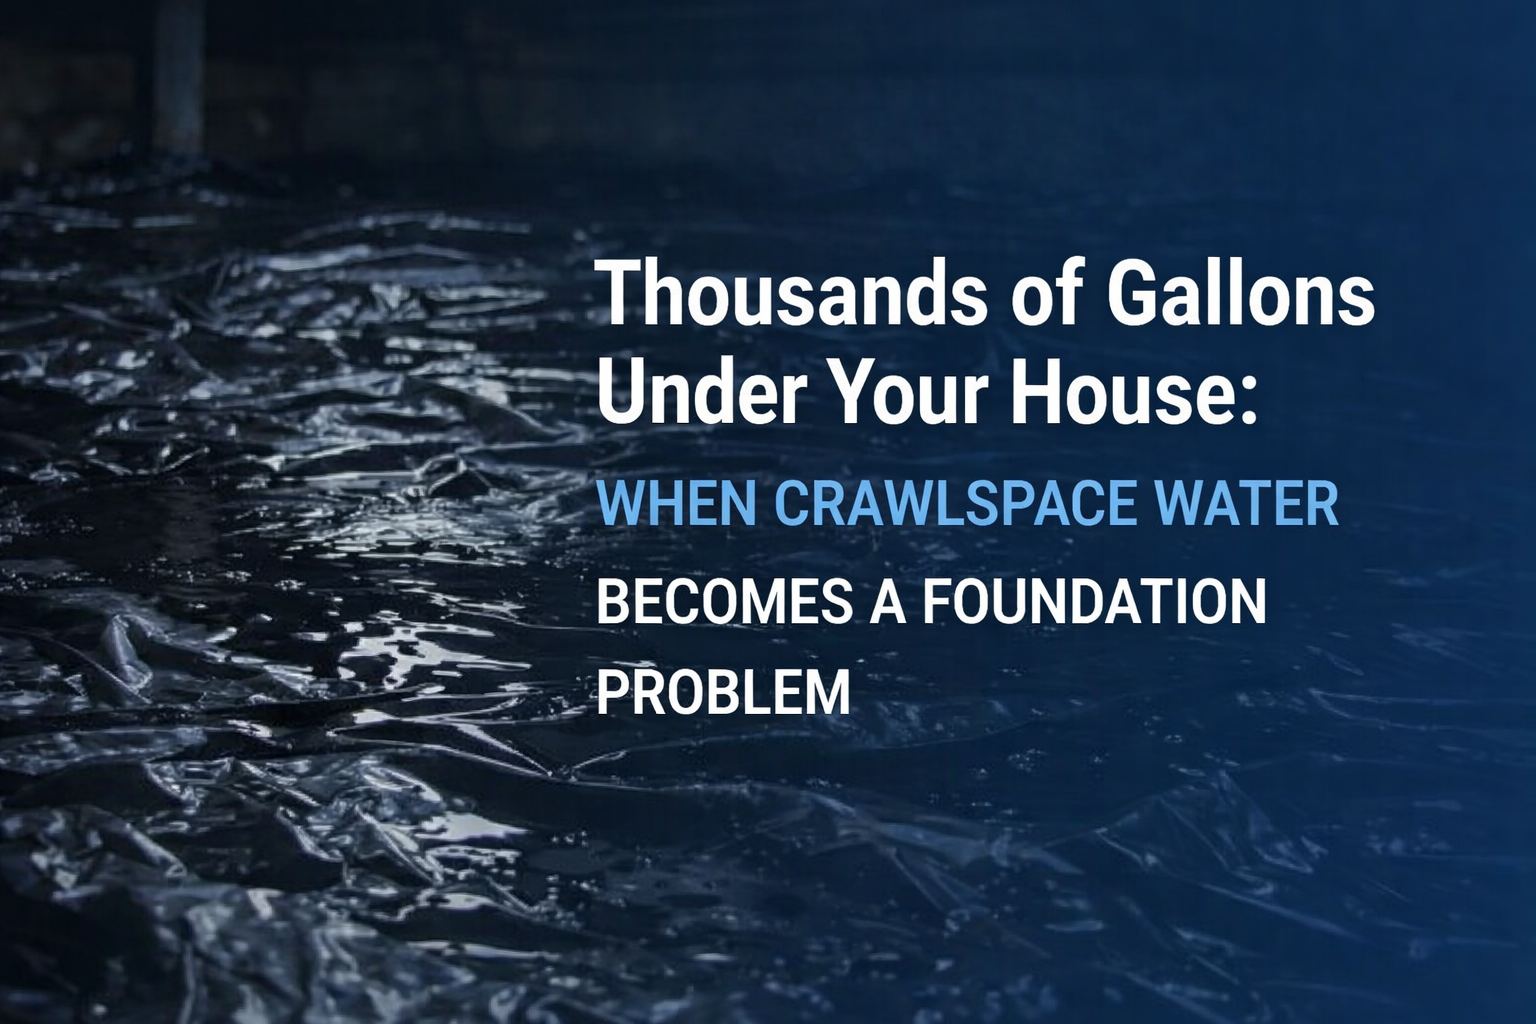
I was out in Pioneer, Tennessee yesterday looking at a couple of crawlspaces. Pretty standard stuff at first - high moisture, some fungal growth on the wood. Nothing I haven't seen a hundred times before. Then I crawled further in. The entire crawlspace was a waterbed. I'm not exaggerating. Thousands of gallons of wa