

Now IS THe Time To...

Crawl Space Services In Knoxville, TN
Stetson Howard: 865-432-6743
CRAWL SPACE ENCAPSULATION, REPAIR, WATERPROOFING & MOLD REMOVAL
No-Obligation, Free Inspections
No-Obligation Free Estimates
We Warranty All of Our Work
100% Satisfaction Guaranteed
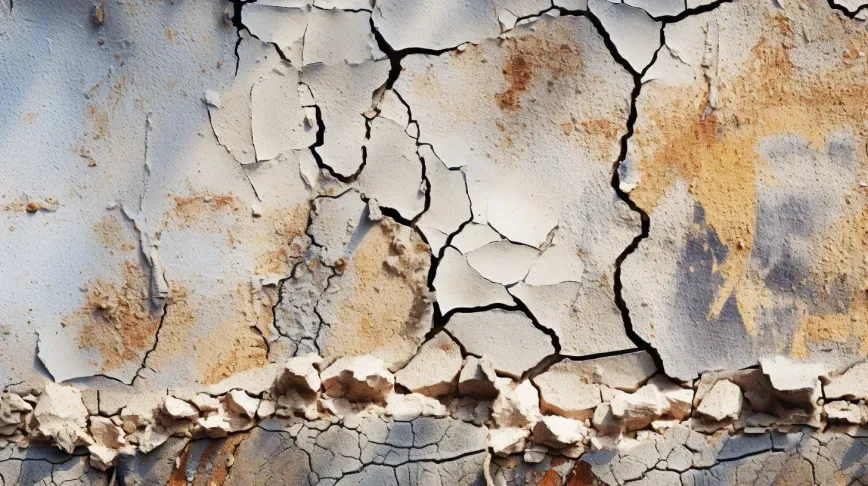
A crack in the foundation may seem insignificant at first glance, perhaps dismissed as a mere cosmetic flaw. However, beneath its surface lies the potential for far-reaching consequences that can compromise the integrity and safety of your home. In this blog post, we delve into the critical reasons why it's essential to address even minor foundation cracks promptly. From preventing further structural damage to preserving property value, we explore the various implications of neglecting these seemingly minor imperfections. By understanding the significance of timely intervention, homeowners can take proactive steps to safeguard their investment and ensure the long-term stability of their most valuable asset. Join us as we uncover the hidden dangers of ignoring foundation cracks and learn why swift action is key to maintaining a solid foundation for years to come.
Understanding Minor Foundation Cracks
Minor foundation cracks, though seemingly insignificant, can have implications for the long-term health of your home. In this section, we'll explore how to identify minor cracks, distinguish them from major ones, and understand the common causes behind their occurrence.
Identifying Minor vs. Major Cracks
Recognizing the characteristics of minor foundation cracks is crucial for effective maintenance and early intervention:
- Characteristics of Minor Cracks: Minor cracks are typically less than 1/4 inch wide and do not exhibit signs of structural damage such as significant displacement or rotation of walls. They may appear as hairline cracks or small fissures in concrete or masonry surfaces.
- Tips for Monitoring Cracks: Regular monitoring of minor cracks is essential to ensure they do not worsen over time. Use a measuring tool to track any changes in width or length, and inspect surrounding areas for signs of moisture intrusion or structural movement.
Common Causes of Minor Cracks
Understanding the underlying causes of minor foundation cracks helps homeowners address the root issues and prevent further damage:
Minor Settling or Shrinkage: Minor cracks often result from natural settling of the building or shrinkage of construction materials like concrete or mortar. These cracks are typically superficial and do not indicate structural failure.
By familiarizing yourself with the characteristics and causes of minor foundation cracks, you can take proactive measures to address them and prevent potential structural issues in the future.
Preparing to Repair
Before diving into foundation crack repair, proper preparation is essential to ensure successful and long-lasting results. This section covers the tools and materials needed and outlines the crucial steps for cleaning and prepping the crack.
Tools and Materials Needed
Gathering the necessary tools and materials beforehand is key to a smooth repair process. Here's what you'll need:
- Caulk Gun: To apply sealants or adhesives evenly and efficiently.
- Epoxy or Polyurethane Foam: Depending on the type of crack and repair method chosen, epoxy or polyurethane foam provides strong, durable sealing properties.
- Putty Knife: For spreading sealants or adhesives evenly and smoothing them out.
- Safety Gear: Wear gloves, safety glasses, and a dust mask to protect yourself from harmful chemicals and debris.
Cleaning and Prepping the Crack
Properly cleaning and prepping the crack ensures optimal adhesion and effectiveness of the repair:
- Remove Debris: Use a wire brush or vacuum to clean out any debris, dirt, or loose material from the crack. Ensure that the crack is free of any obstructions that could interfere with the repair process.
- Clean the Area: Thoroughly clean the area surrounding the crack with a mild detergent and water solution to remove any dirt, oil, or other contaminants. Allow the area to dry completely before proceeding with the repair.
- Ensure Dryness: Moisture can compromise the adhesion of sealants or adhesives. Wait until the crack and surrounding area are completely dry before applying any repair materials.
By following these preparatory steps diligently, you'll set the stage for a successful foundation crack repair, ensuring that the sealants or adhesives adhere properly and provide long-lasting protection against further damage.
DIY Repair Techniques
Taking on foundation crack repair as a do-it-yourself project can save you time and money while ensuring the structural integrity of your home. This section covers two common DIY repair techniques: epoxy injection and polyurethane foam injection.
Epoxy Injection
Epoxy injection is a popular method for sealing minor cracks in concrete or masonry foundations. Here's how to use epoxy for foundation crack repair:
- Prepare the Crack: Clean and prep the crack as outlined in the previous section, ensuring it is free of debris and moisture.
- Mix the Epoxy: Follow the manufacturer's instructions to mix the epoxy resin and hardener thoroughly. Use a disposable container and mixing stick to ensure proper blending.
- Inject the Epoxy: Load the mixed epoxy into a caulking gun fitted with an injection port. Insert the port into the crack and dispense the epoxy, starting at the lowest point and working your way up. Continue injecting until the crack is completely filled.
- Allow Cure Time: Allow the epoxy to cure according to the manufacturer's instructions. Epoxy provides a strong, durable seal that resists moisture penetration and provides long-lasting protection against further damage.
Polyurethane Foam Injection
Polyurethane foam injection is ideal for sealing cracks that are subject to moisture and movement. Here's how to use polyurethane foam for foundation crack repair:
- Prepare the Crack: Clean and prep the crack as before, ensuring it is dry and free of debris.
- Inject the Foam: Load the polyurethane foam cartridge into a foam gun and insert the nozzle into the crack. Slowly inject the foam, starting at the bottom of the crack and working your way up. The foam will expand to fill the crack and create a watertight seal.
- Allow Cure Time: Polyurethane foam cures quickly, usually within a few hours. Once cured, it forms a flexible, waterproof seal that moves with the foundation to prevent future cracking.
Both epoxy and polyurethane foam injection are effective DIY repair techniques for minor foundation cracks. By following these step-by-step instructions and utilizing the appropriate materials, homeowners can successfully address minor cracks and protect their home's structural integrity.
Best Practices for Crack Sealing
Achieving a lasting seal when repairing foundation cracks is essential for maintaining the integrity of your home's structure. In this section, we'll cover best practices for ensuring a durable seal and completing the finishing touches for a professional-looking repair.
Ensuring a Lasting Seal
To ensure that your crack sealing efforts result in a lasting and effective repair, follow these best practices:
- Proper Application: Apply the sealant evenly and generously to the crack, ensuring that it fills the entire void and creates a watertight seal. Use a caulking gun or injection tool for precise application, and work in small sections to prevent the sealant from drying out before it can be properly applied.
- Bonding Surface: Before applying the sealant, clean the crack thoroughly to remove any debris, dust, or loose material. Use a wire brush or vacuum to ensure the bonding surface is clean and free of contaminants that could interfere with adhesion.
- Testing the Seal: Once the sealant has been applied, perform a simple test to ensure its effectiveness. Pour a small amount of water over the sealed crack and observe if it penetrates through. If water beads up and does not penetrate, the sealant has formed a successful barrier against moisture intrusion.
Finishing Touches
Completing the finishing touches is crucial for achieving a professional-looking repair and ensuring the longevity of the seal:
- Clean Up: Clean up any excess sealant or spills immediately using a damp cloth or solvent recommended by the manufacturer. Pay attention to surrounding surfaces to prevent unsightly residue buildup.
- Dispose of Materials Safely: Dispose of any unused sealant or empty cartridges according to local regulations for hazardous waste disposal. Follow manufacturer instructions for proper disposal procedures to minimize environmental impact.
- Painting Over Sealed Cracks: If desired, you can paint over sealed cracks to match the surrounding surface and improve the overall appearance of the repair. Choose a high-quality masonry paint that is compatible with the sealant used and follow proper surface preparation and painting techniques for best results.
By following these best practices for crack sealing and completing the finishing touches with care, you can achieve a durable and professional-looking repair that protects your home from further damage.
Monitoring and Maintenance Post-Repair
After completing foundation crack repairs, it's essential to monitor the repaired areas and implement preventive measures to minimize the risk of future cracks. This section covers the importance of regular monitoring, signs of potential issues, and preventive strategies for maintaining a stable foundation.
Keeping an Eye on Repaired Cracks
Regular monitoring of repaired cracks is crucial to ensure their integrity and effectiveness over time:
- Importance of Regular Monitoring: Check the repaired areas periodically to ensure that the sealant or patching material remains intact and no new cracks have formed. Monitoring allows for early detection of any potential issues that may arise, allowing for timely intervention before significant damage occurs.
- Signs of Potential Issues: Be vigilant for signs that a temporary fix is failing, such as cracks reappearing or widening, moisture infiltration, or changes in the surrounding structure. If you notice any of these signs, it may indicate that professional help is needed to address underlying issues.
Preventive Measures to Minimize Future Cracks
Implementing preventive measures can help minimize the risk of new cracks forming and maintain the stability of your foundation:
- Improving Drainage: Ensure that water is directed away from the foundation by maintaining gutters, downspouts, and grading around the perimeter of your home. Proper drainage helps prevent soil erosion and hydrostatic pressure, reducing the likelihood of foundation movement and cracking.
- Controlling Indoor Humidity: Maintain consistent indoor humidity levels to prevent soil expansion and contraction, which can contribute to foundation movement and cracking. Use dehumidifiers in damp areas and ensure proper ventilation to minimize moisture buildup.
By staying proactive with monitoring and implementing preventive measures, homeowners can protect their investment and maintain a stable foundation for years to come.
FAQs
Recent Blog Posts
Crawl Space News


